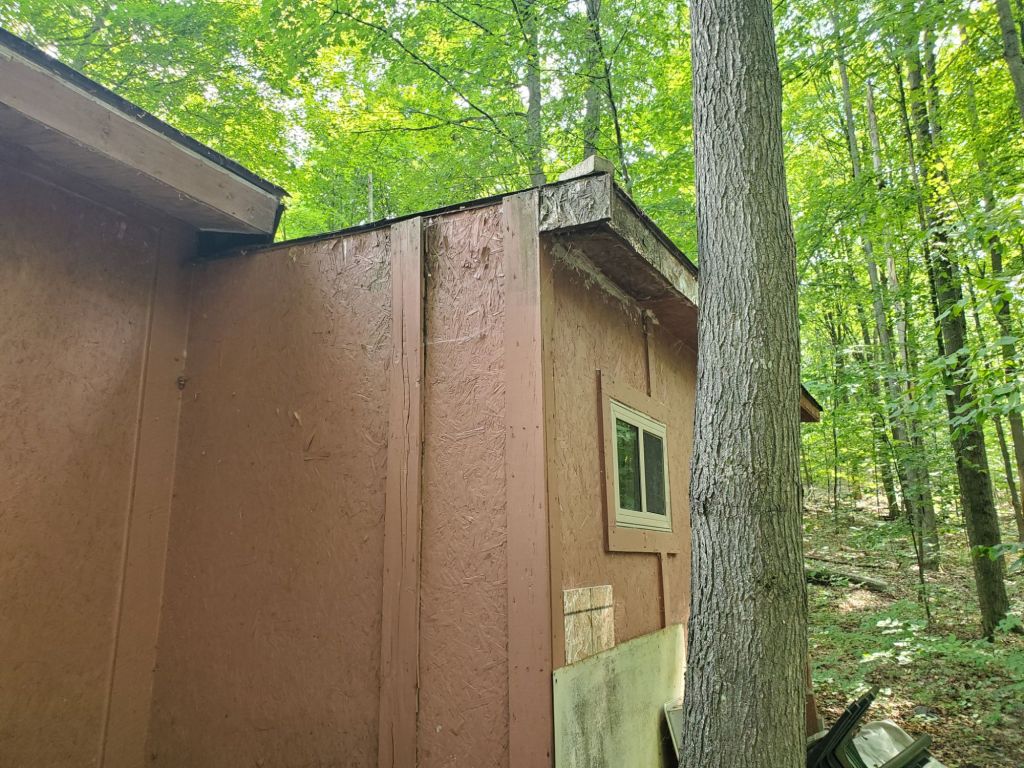
Even before my wife and I closed on The Maple Mansion I started working on fixing the roof. It was a gamble that luckily paid off. You can read about that in my previous post Welcome to the Maple Mansion! Originally the structure was just one room and over time two more rooms and a porch were added. Each addition added a completely different roof line. One addition was even a flat roof! As you might imagine, where ever two sections met, it leaked.
When I started, the smell of rotting wood and mold was so bad inside I would spend the next two weeks and following five weekends living out of my hammock before I felt comfortable staying inside.
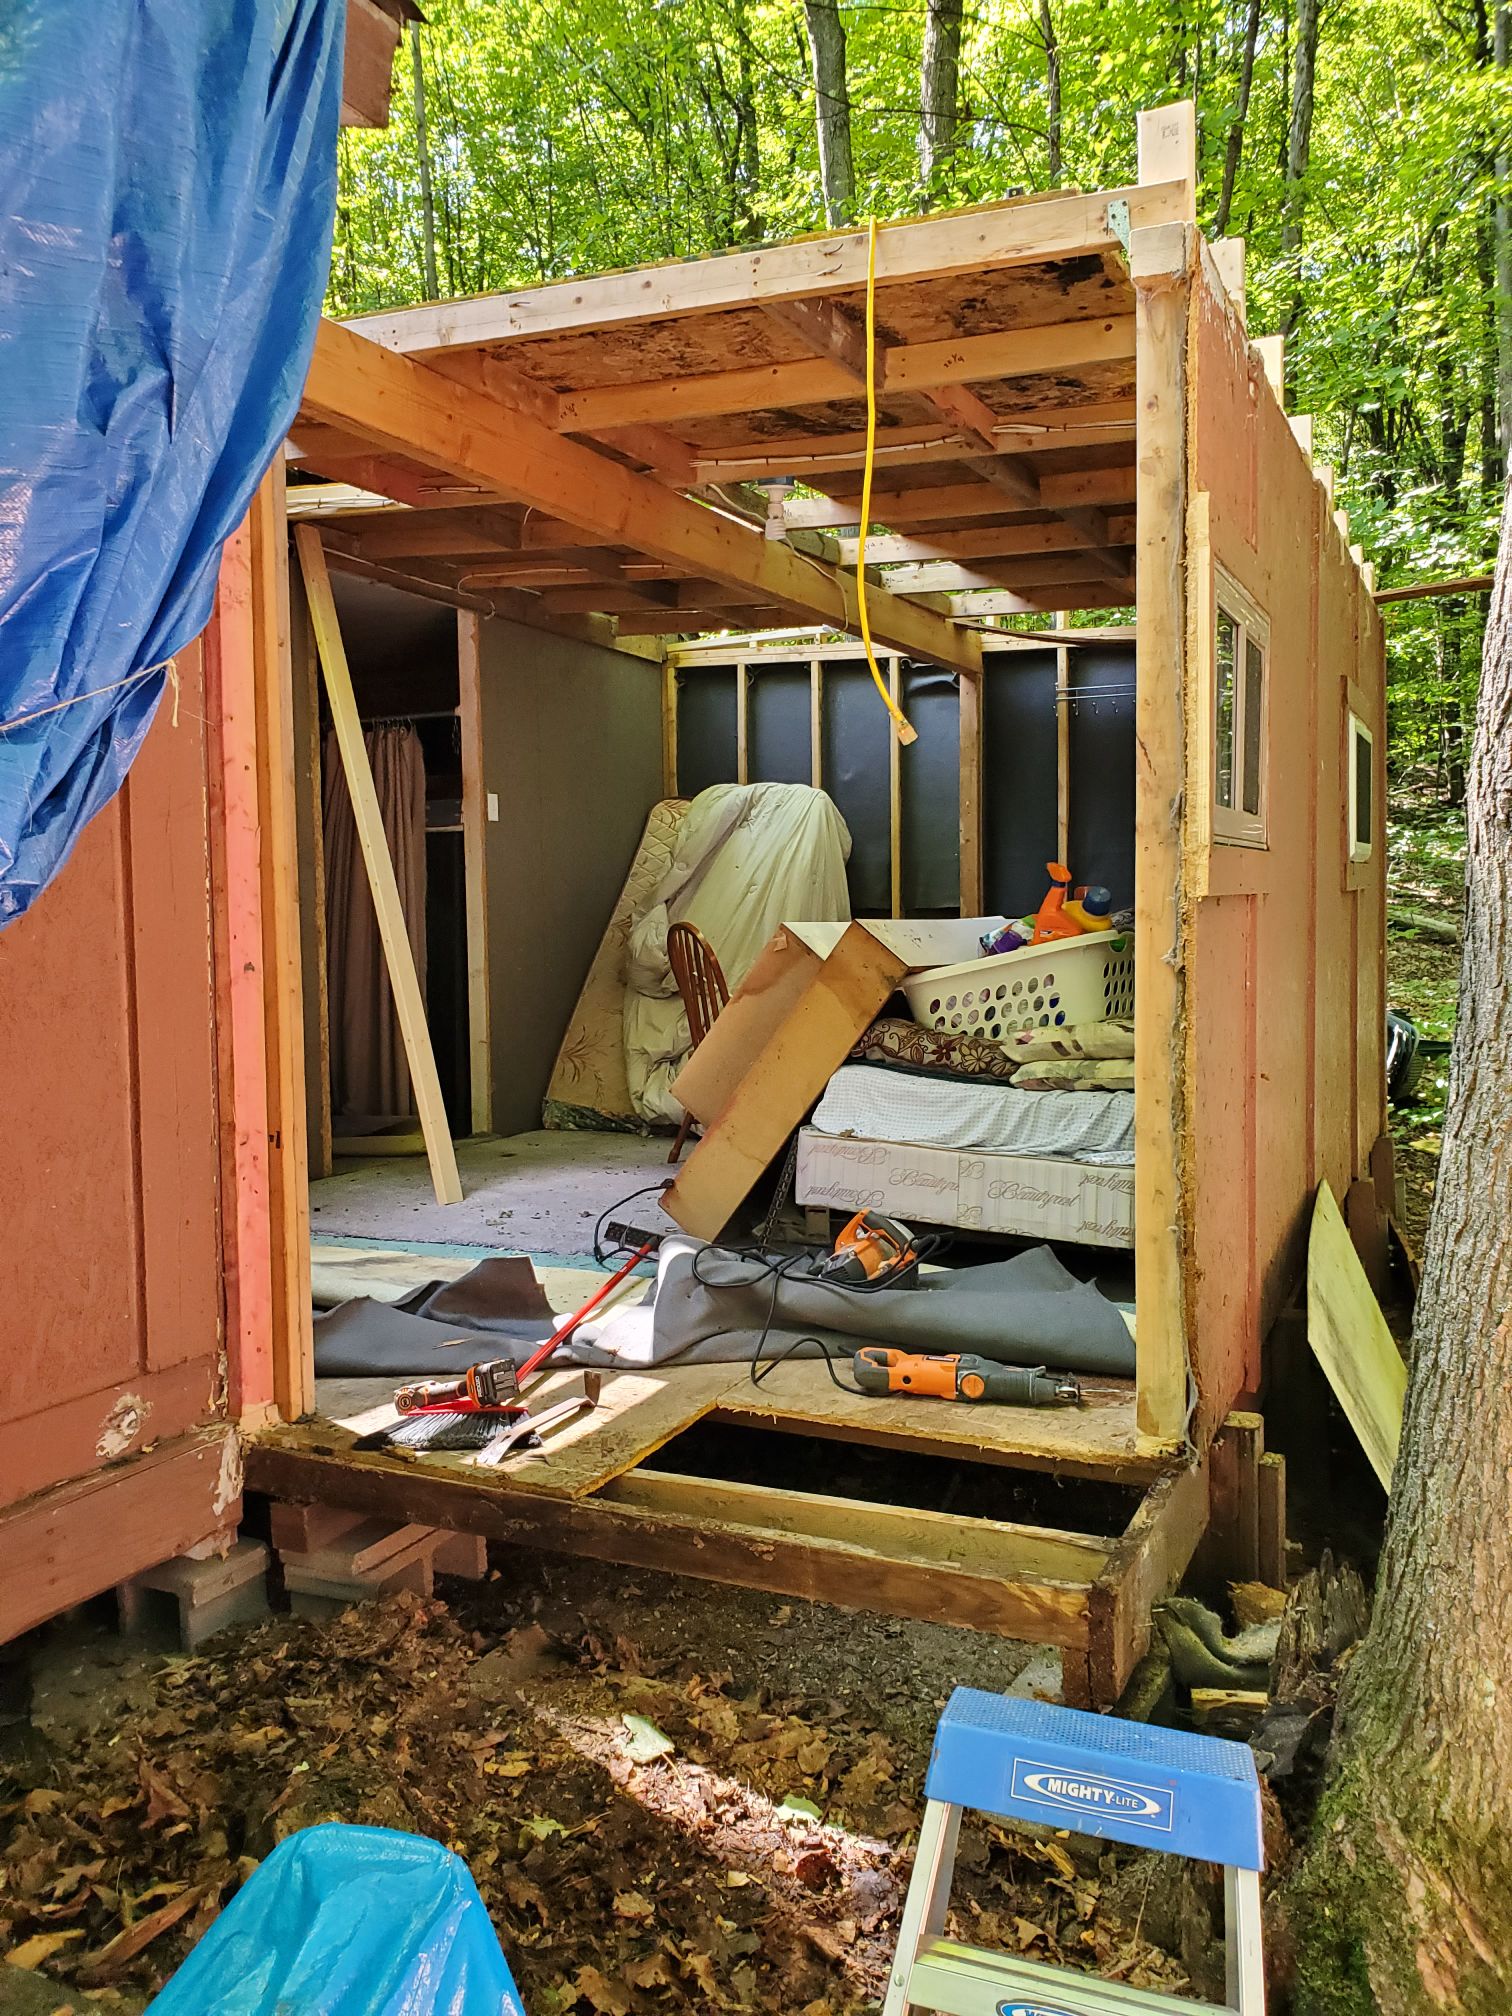
Before I could start to rebuild the roof I had to rip out all of the rotten and moldy wood. This meant tearing out a number of interior and exterior walls.
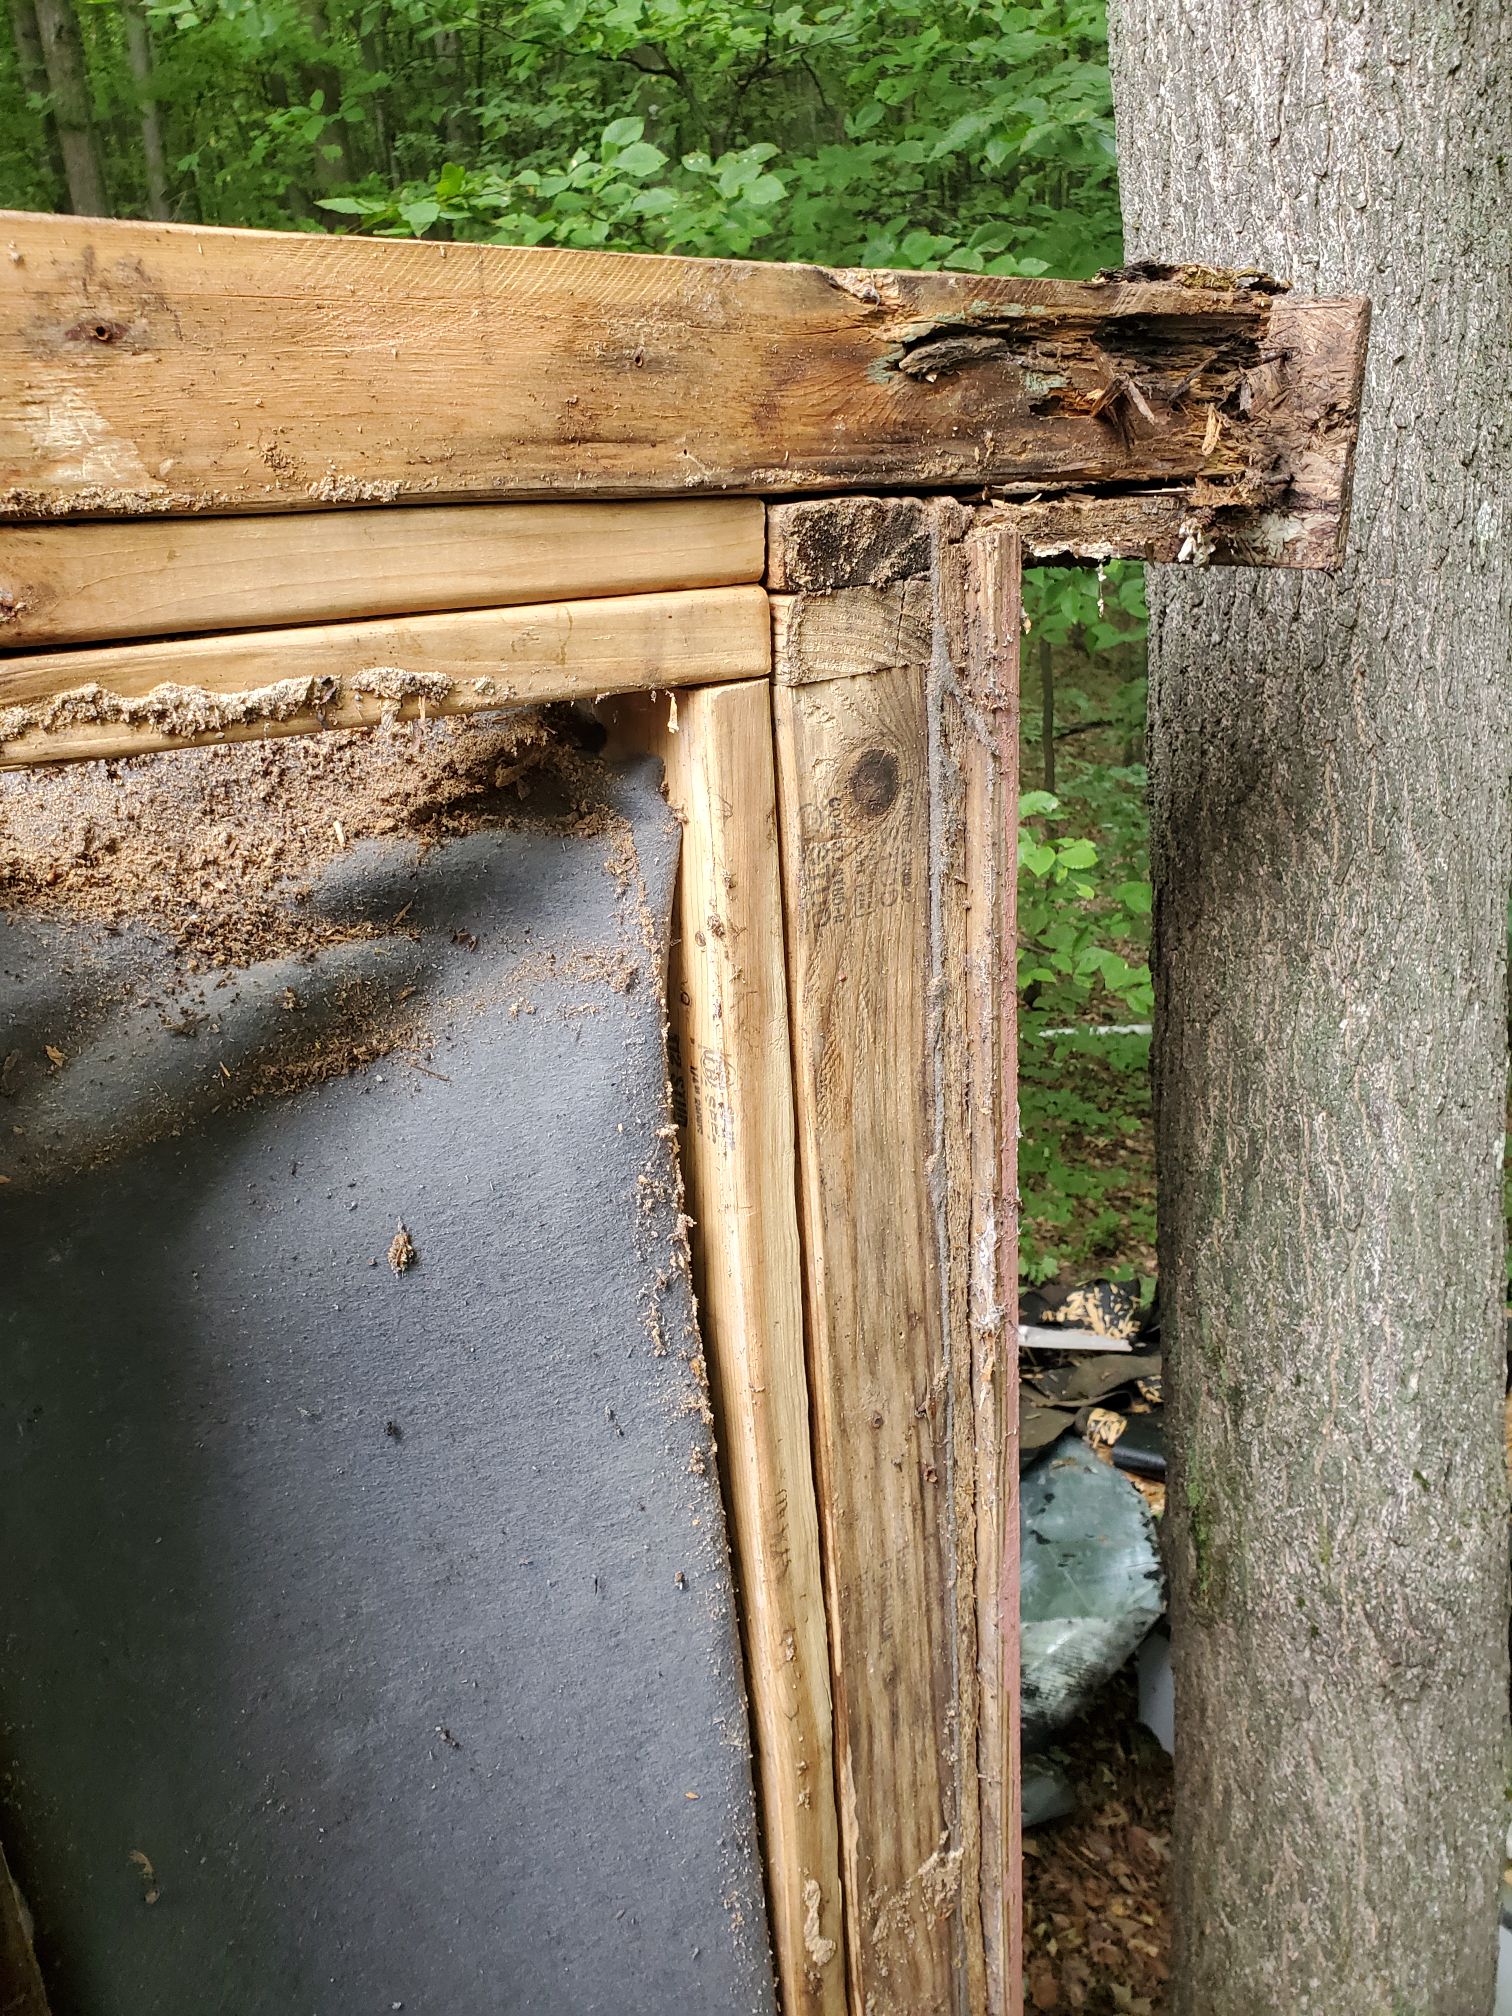
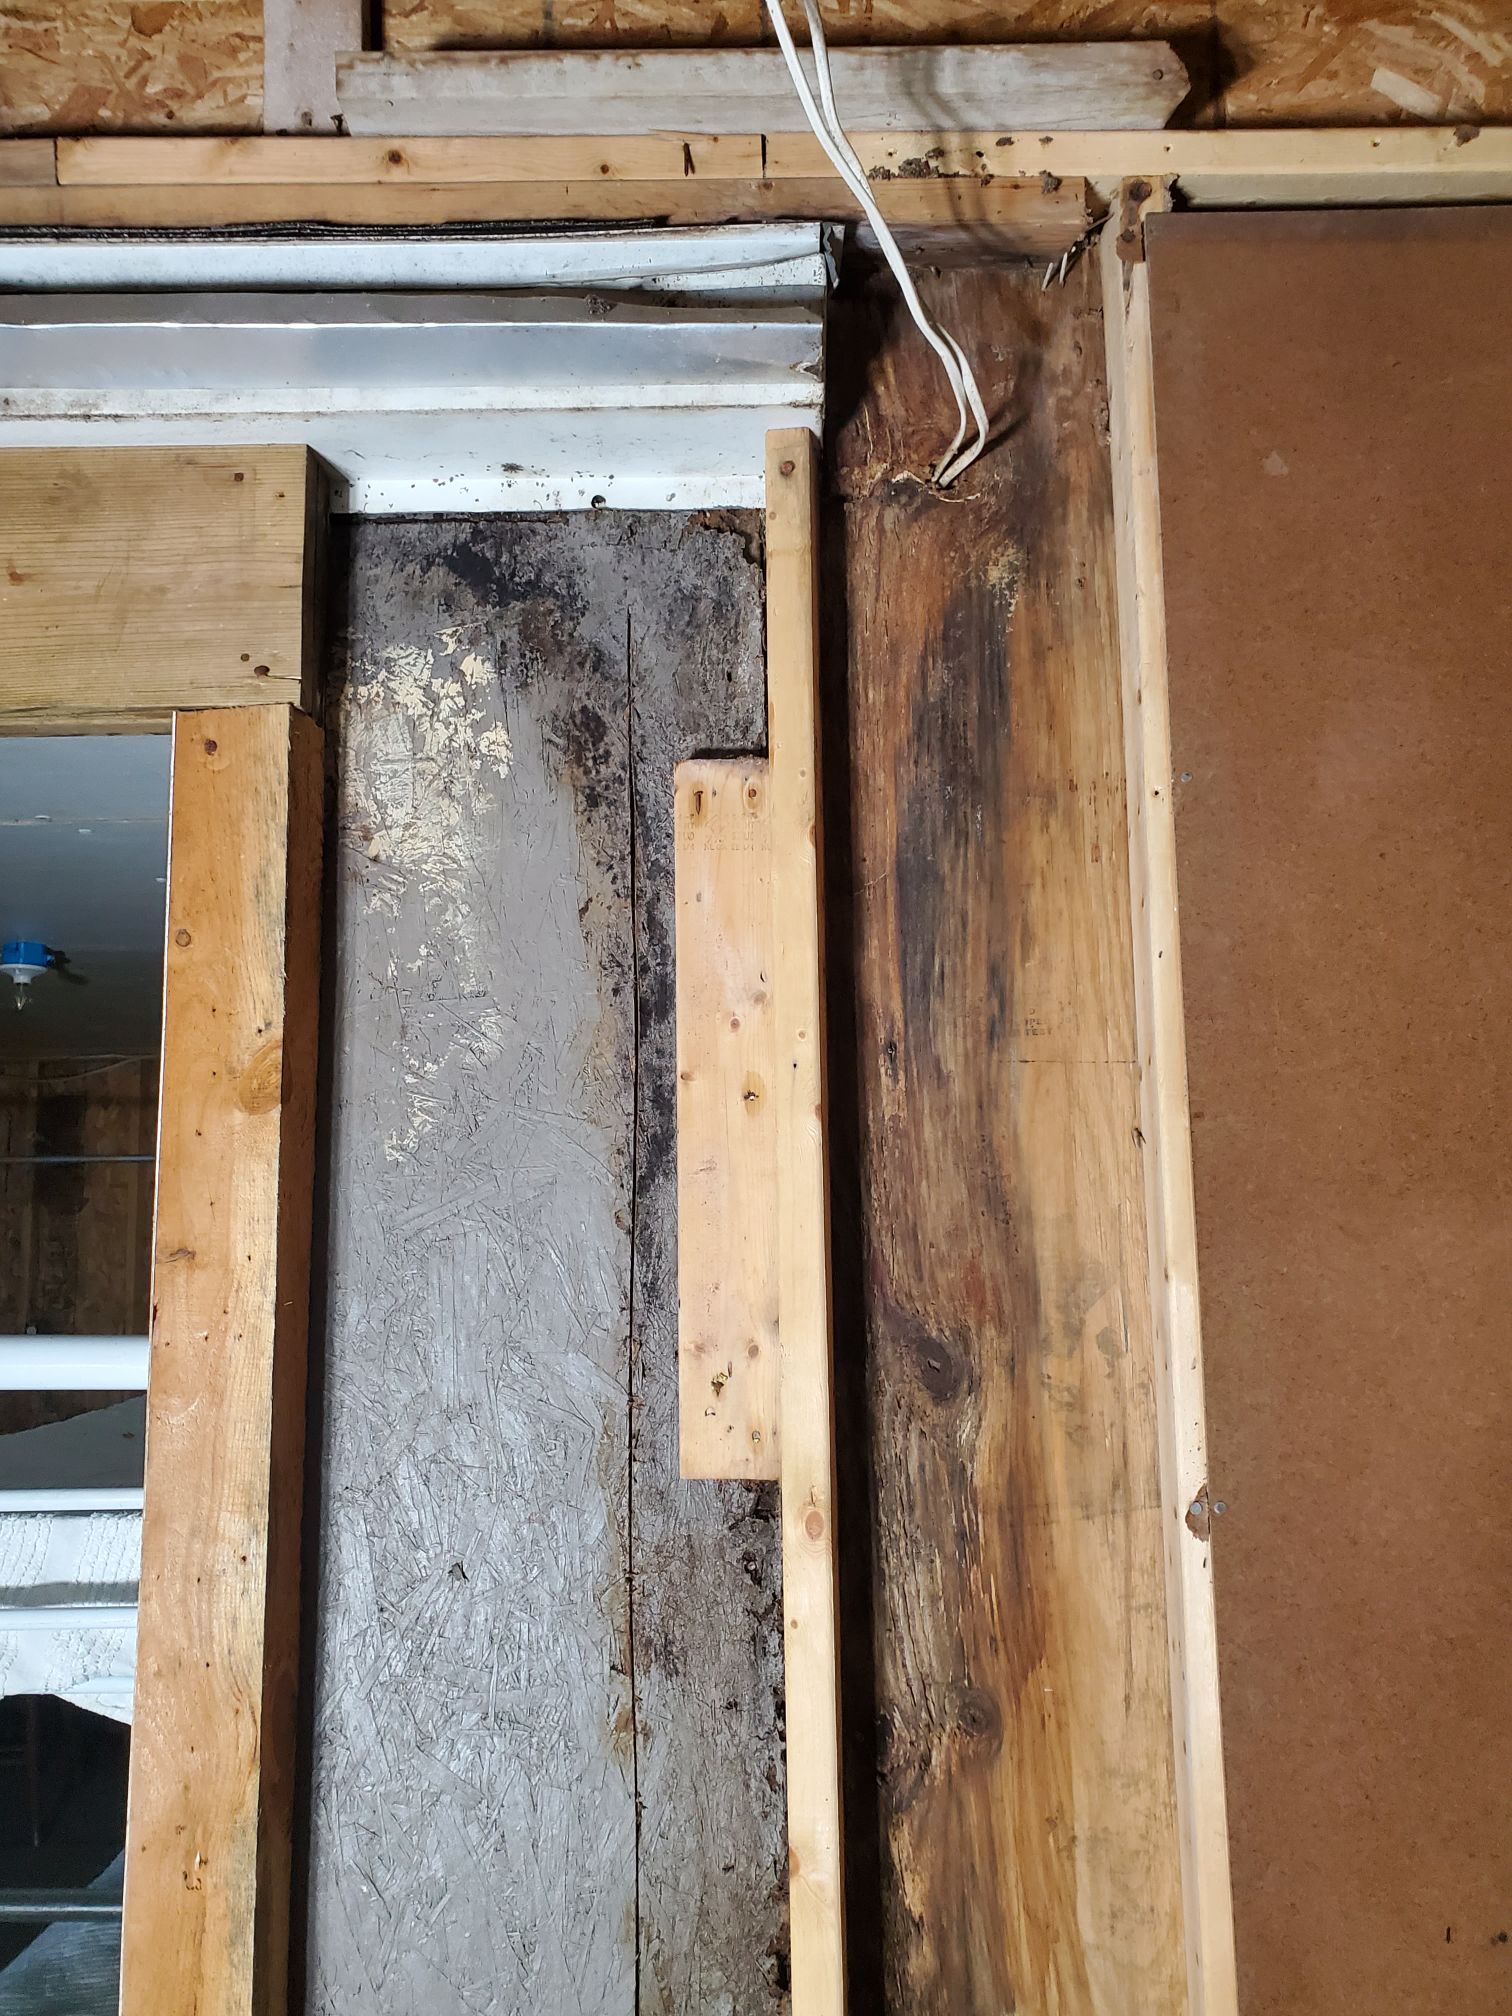
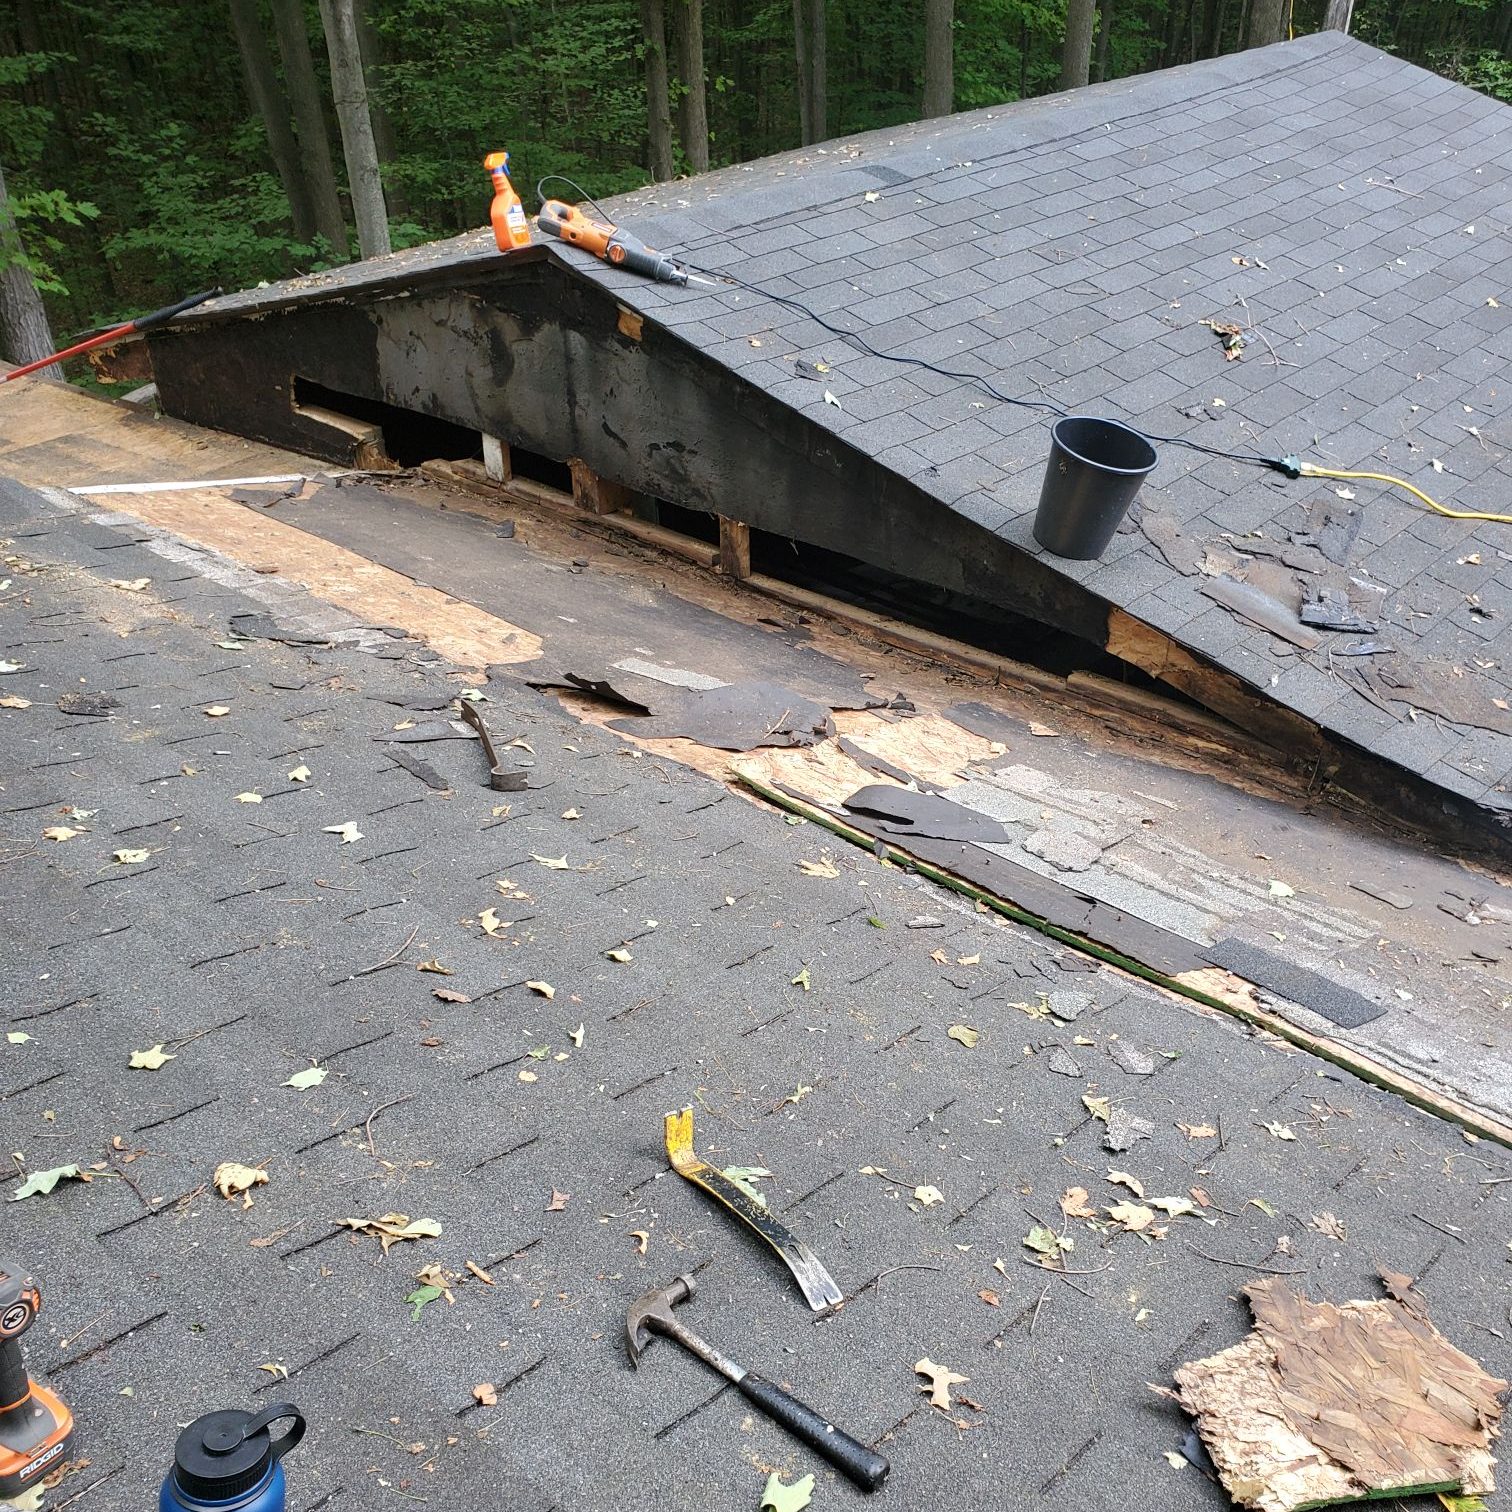
Then, it was on to ripping off parts of the roof. A common theme you will find throughout this blog is one of not being afraid to learn something new and doing things I’ve never done. It was at this stage of the project that I learned carpenter ants really love soft wet wood. It doesn’t matter if it is plywood or 2x4s they’re game, and they were everywhere!
If you are a relatively sane person, you might be asking yourself, “Why in the heck didn’t this idiot just knock the whole place down and start over?” Fair enough.
To be honest, my wife and I did have a serious conversation about just that. The Maple Mansion is roughly 850 sq/ft and in the end we determined it would be best to try and salvage the building since we would never be able to afford building something from scratch even close to that size. It was a decision I would seriously question multiple times throughout that summer, but sometimes you just have to persevere.
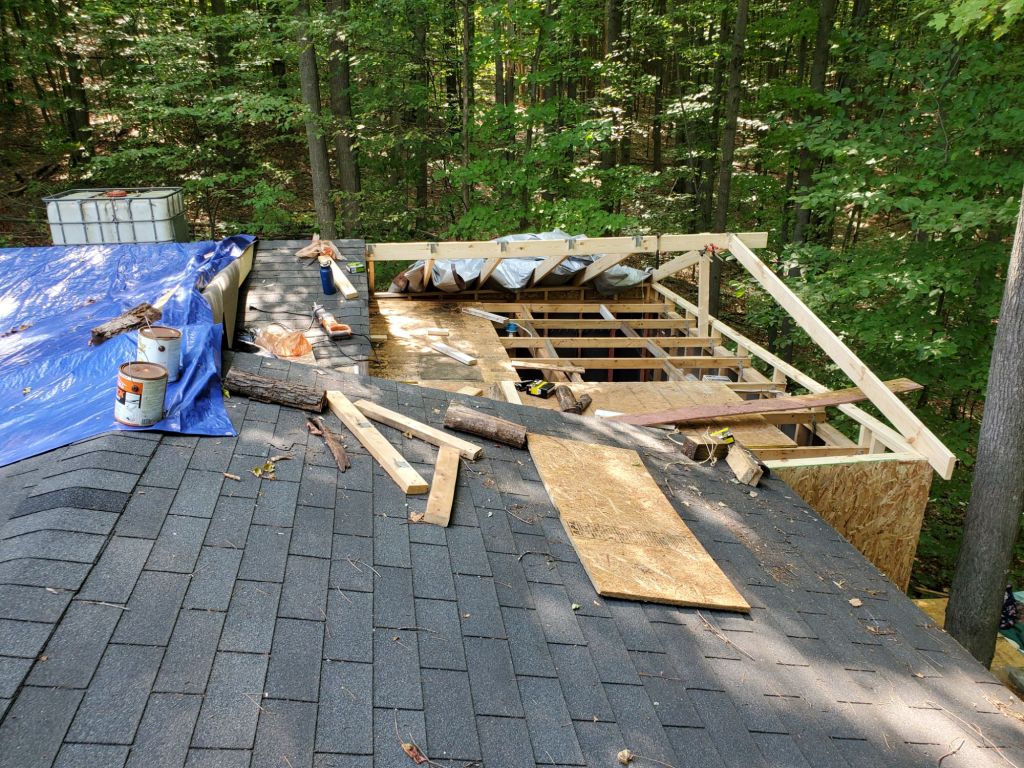
After the interior and exterior walls were replaced, it was time to start rebuilding the roof. The flat roof had a slight slope to it, so I had to level out the walls in that room.
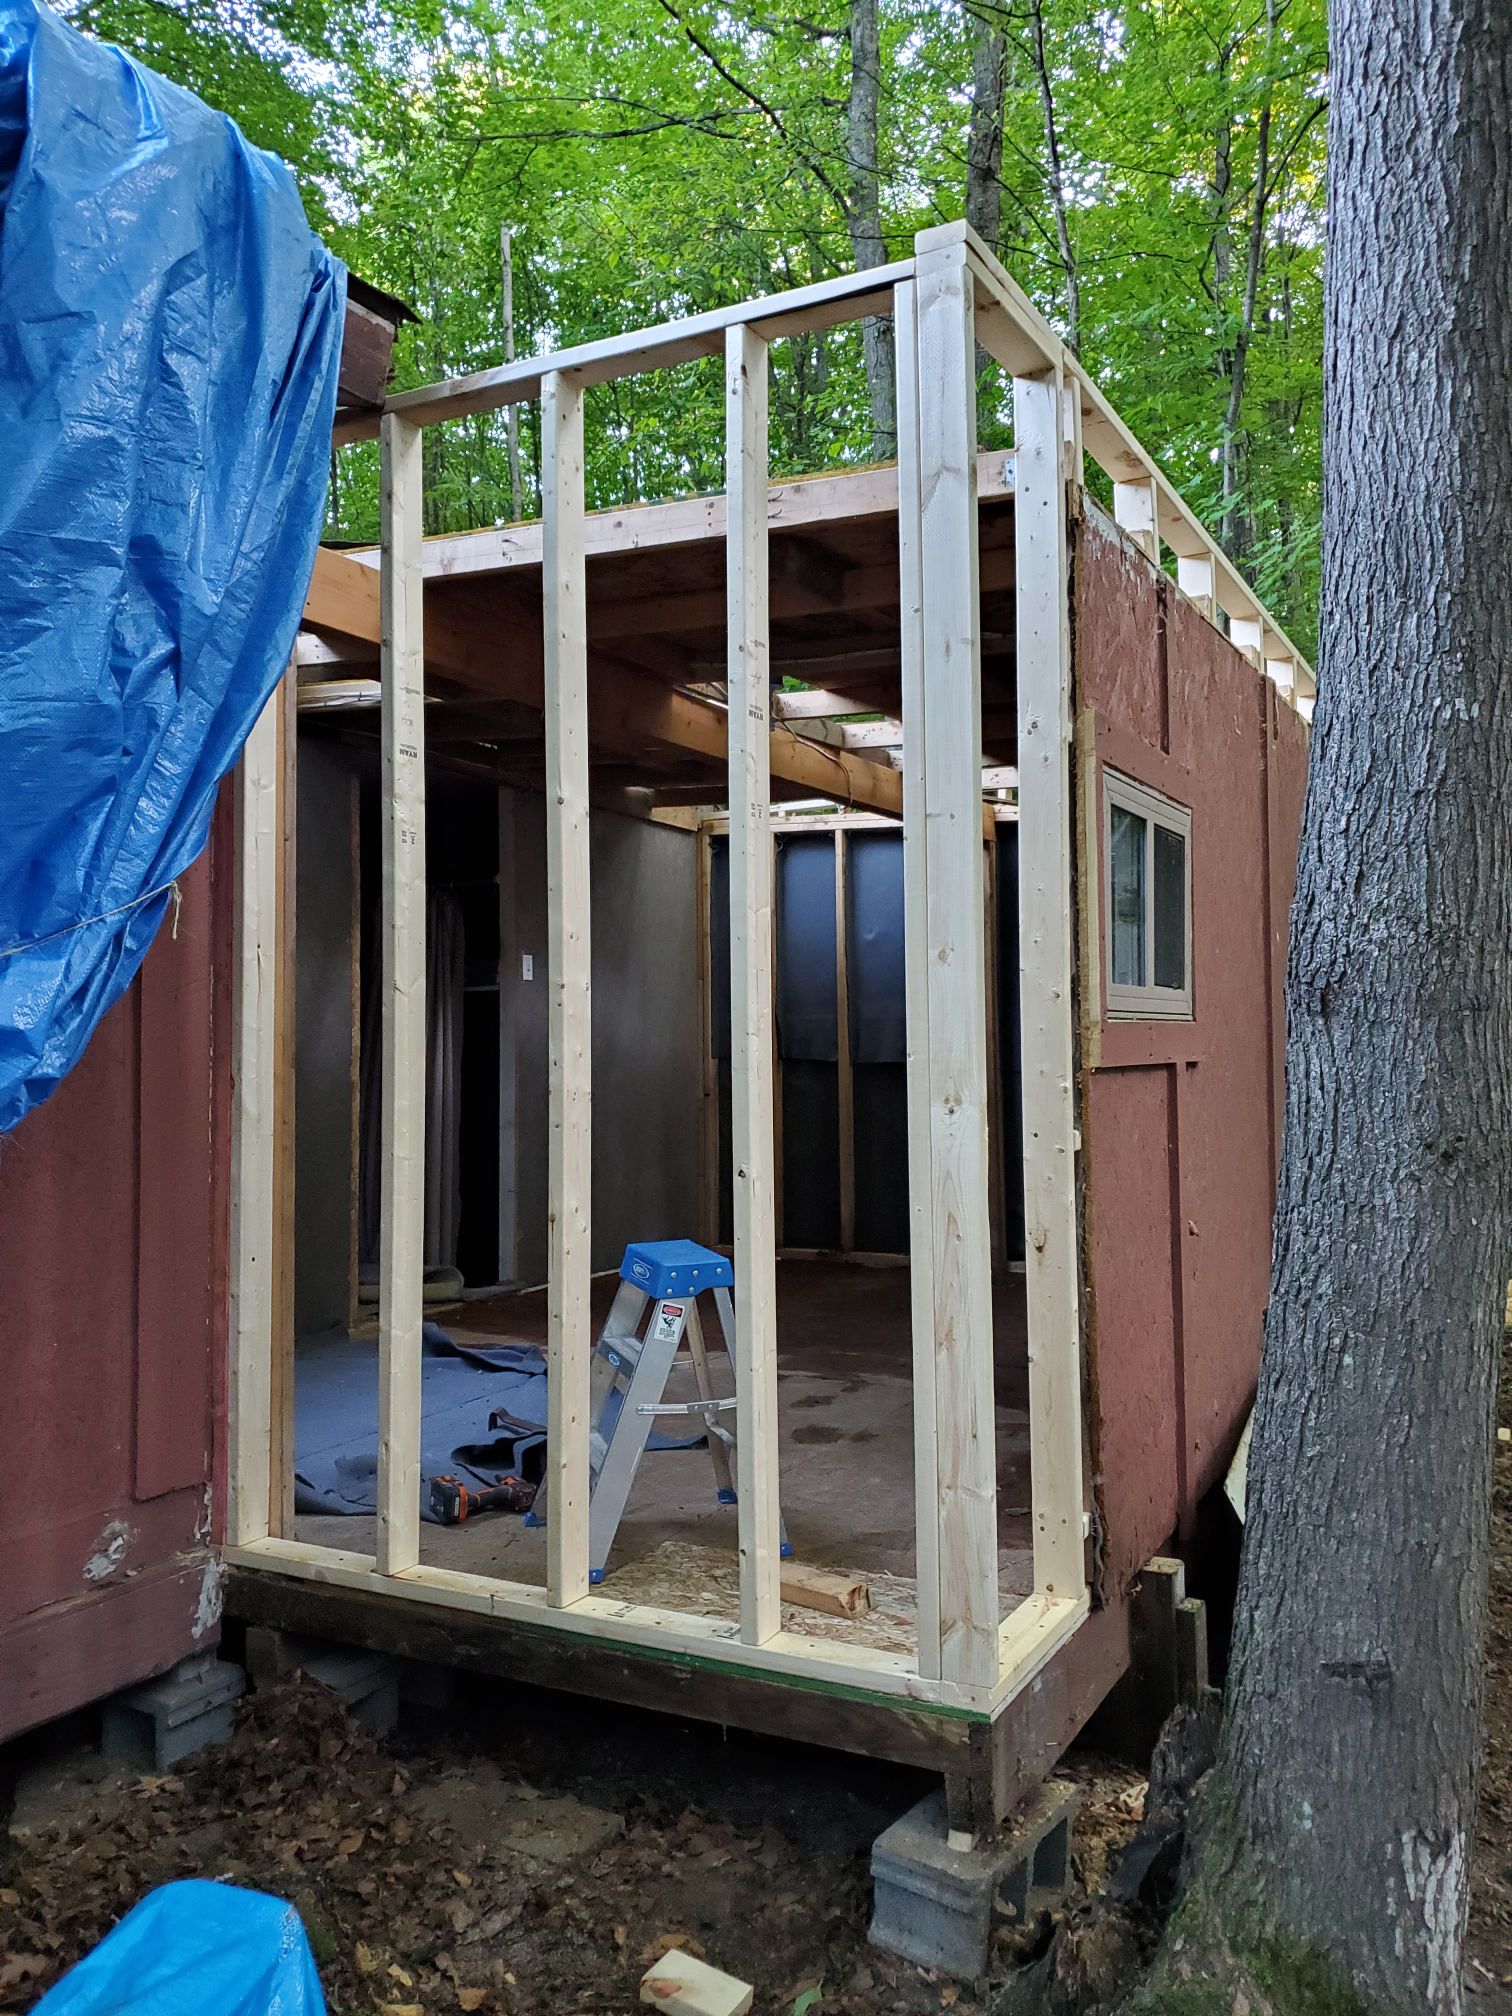
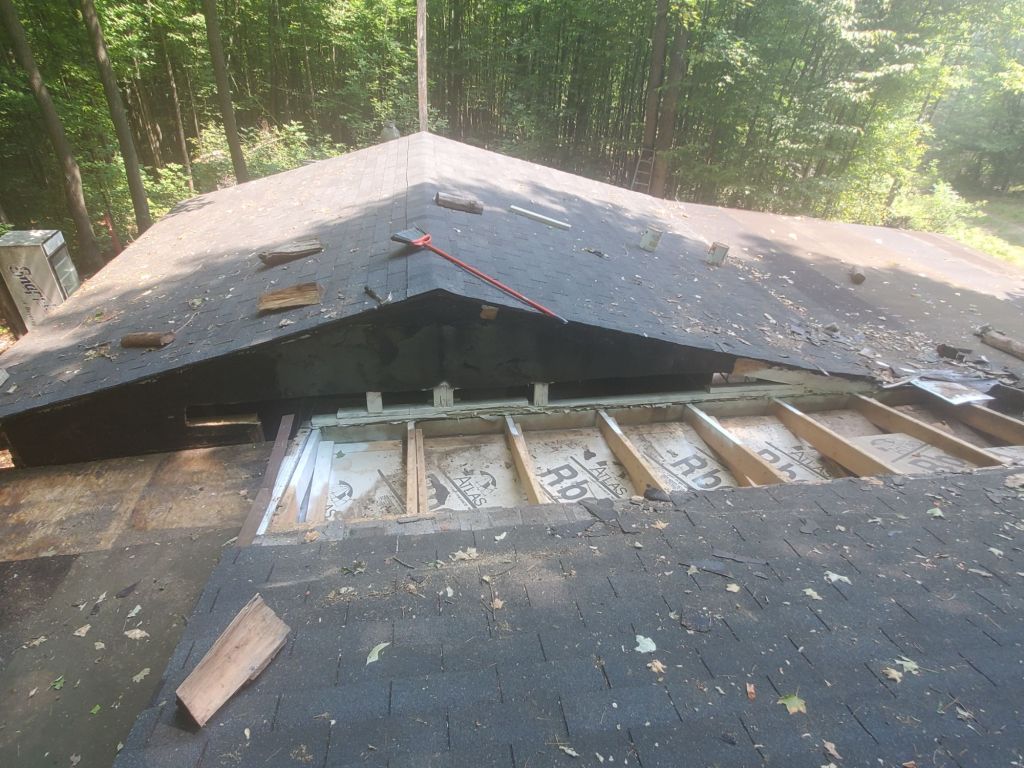
The mansion is laid out in the shape of a T. One ridge needed to be extended over the backroom that once had the flat roof, and the perpendicular ridgelines had to be connected in a way that the water would flow correctly. Making sure the two perpendicular ridges met at the same height would be the next step.
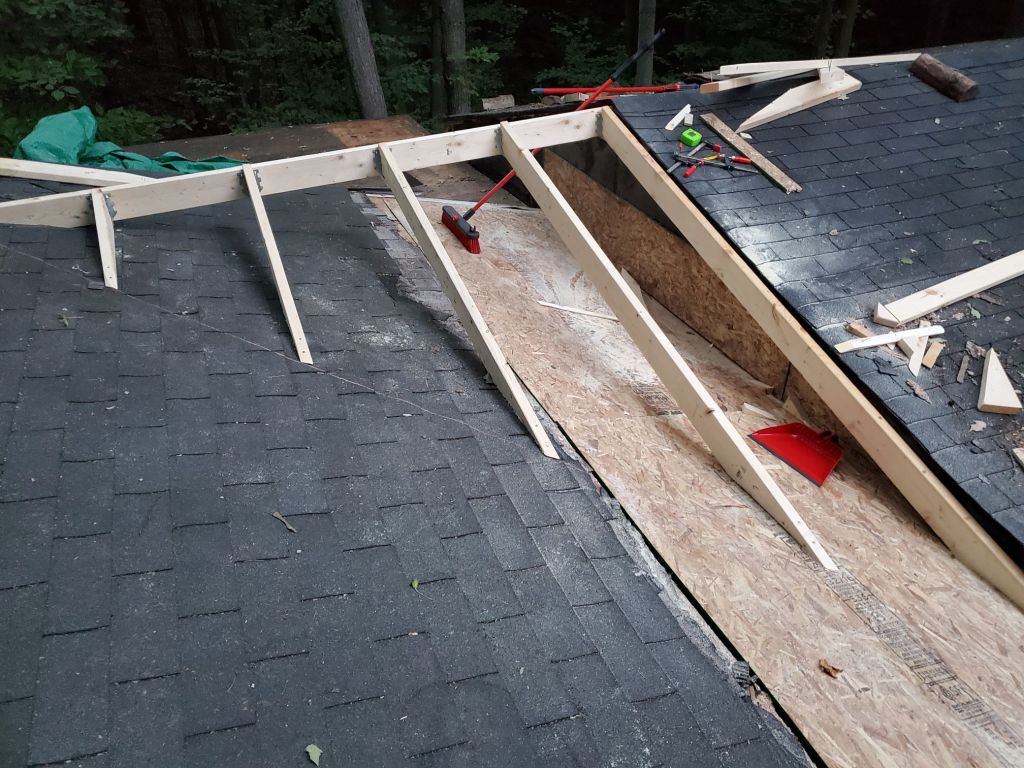
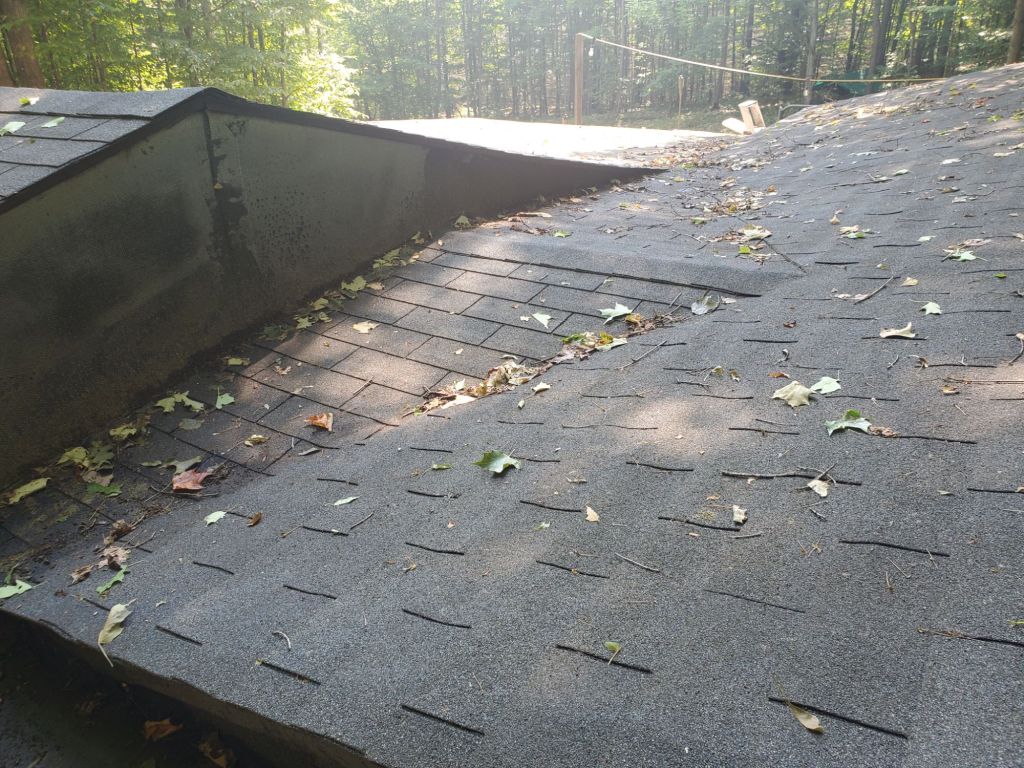
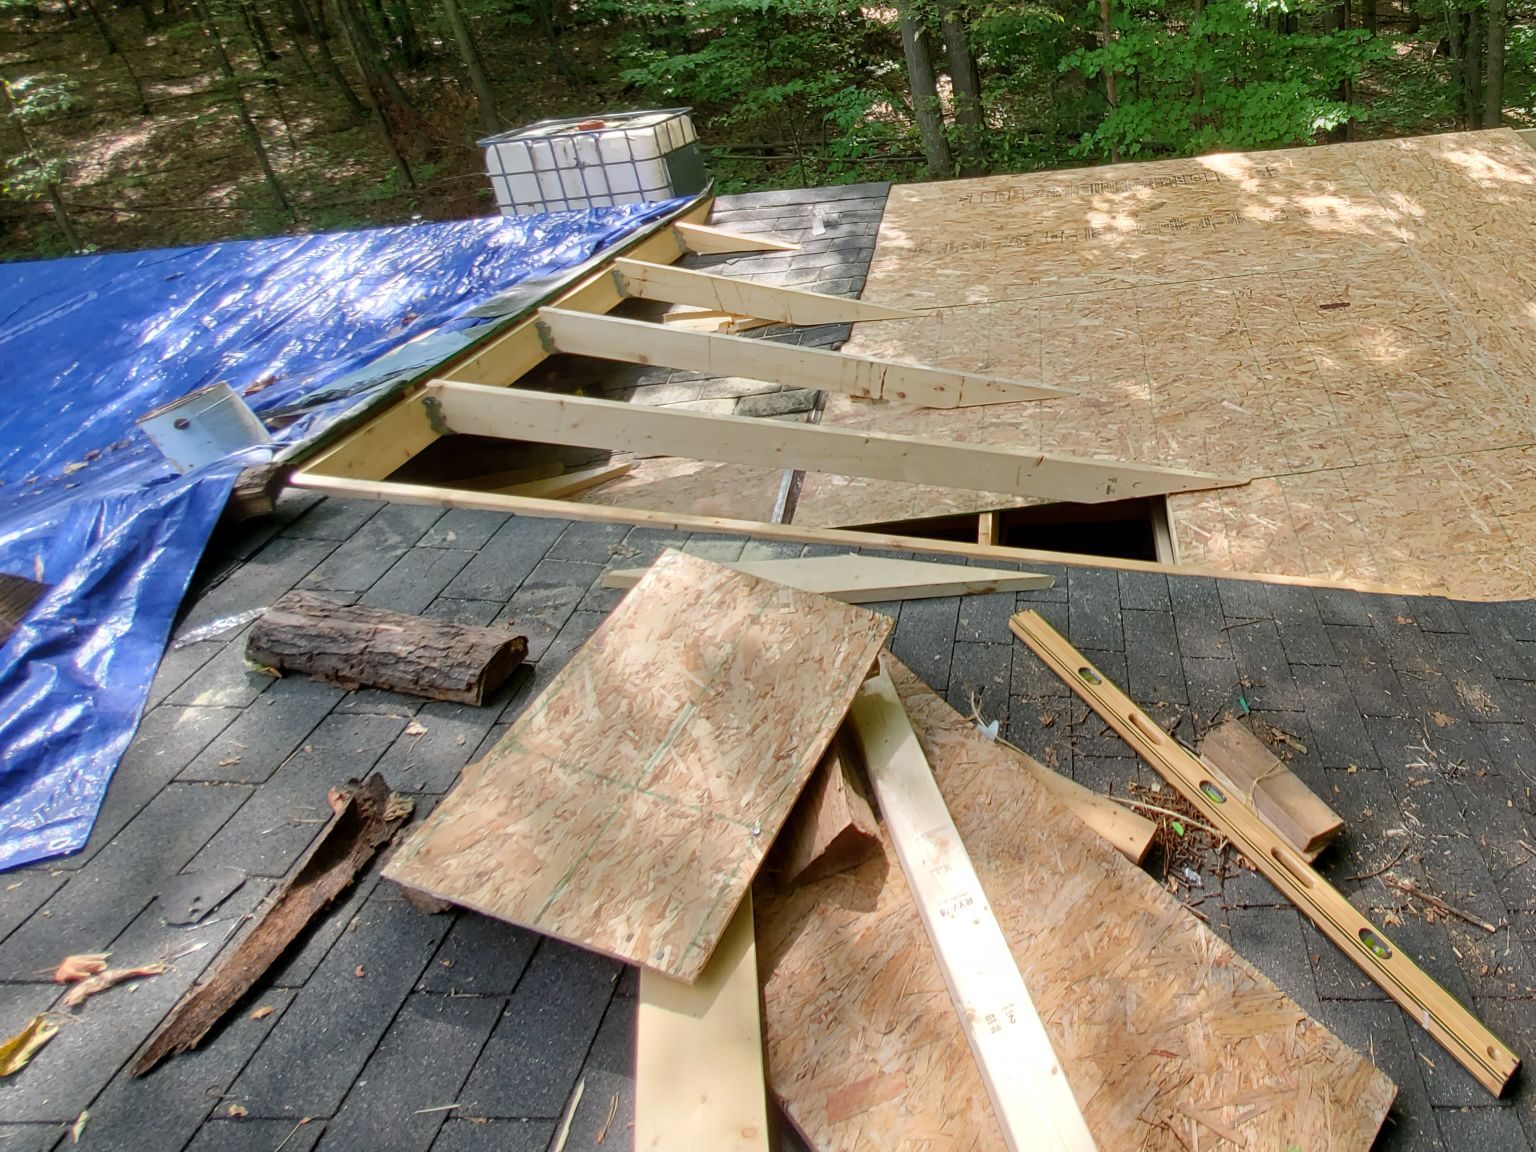
I’m not a professional roofer and didn’t really do this part correctly. I would have been fine if I was only dealing with the two ridge lines. Unfortunately, the porch roof handed me an issue I never really dealt with correctly. The porch roof starts above the roof line on the left, which created a low spot where the two met. I redid the framing in the picture above to be higher, but I still didn’t extend it far enough and just created another problem (see below).

I knew I was going to put on a metal roof the next summer so I covered up the whole with sheet metal and covered up the section I had “fixed” with tar paper and crossed my fingers.
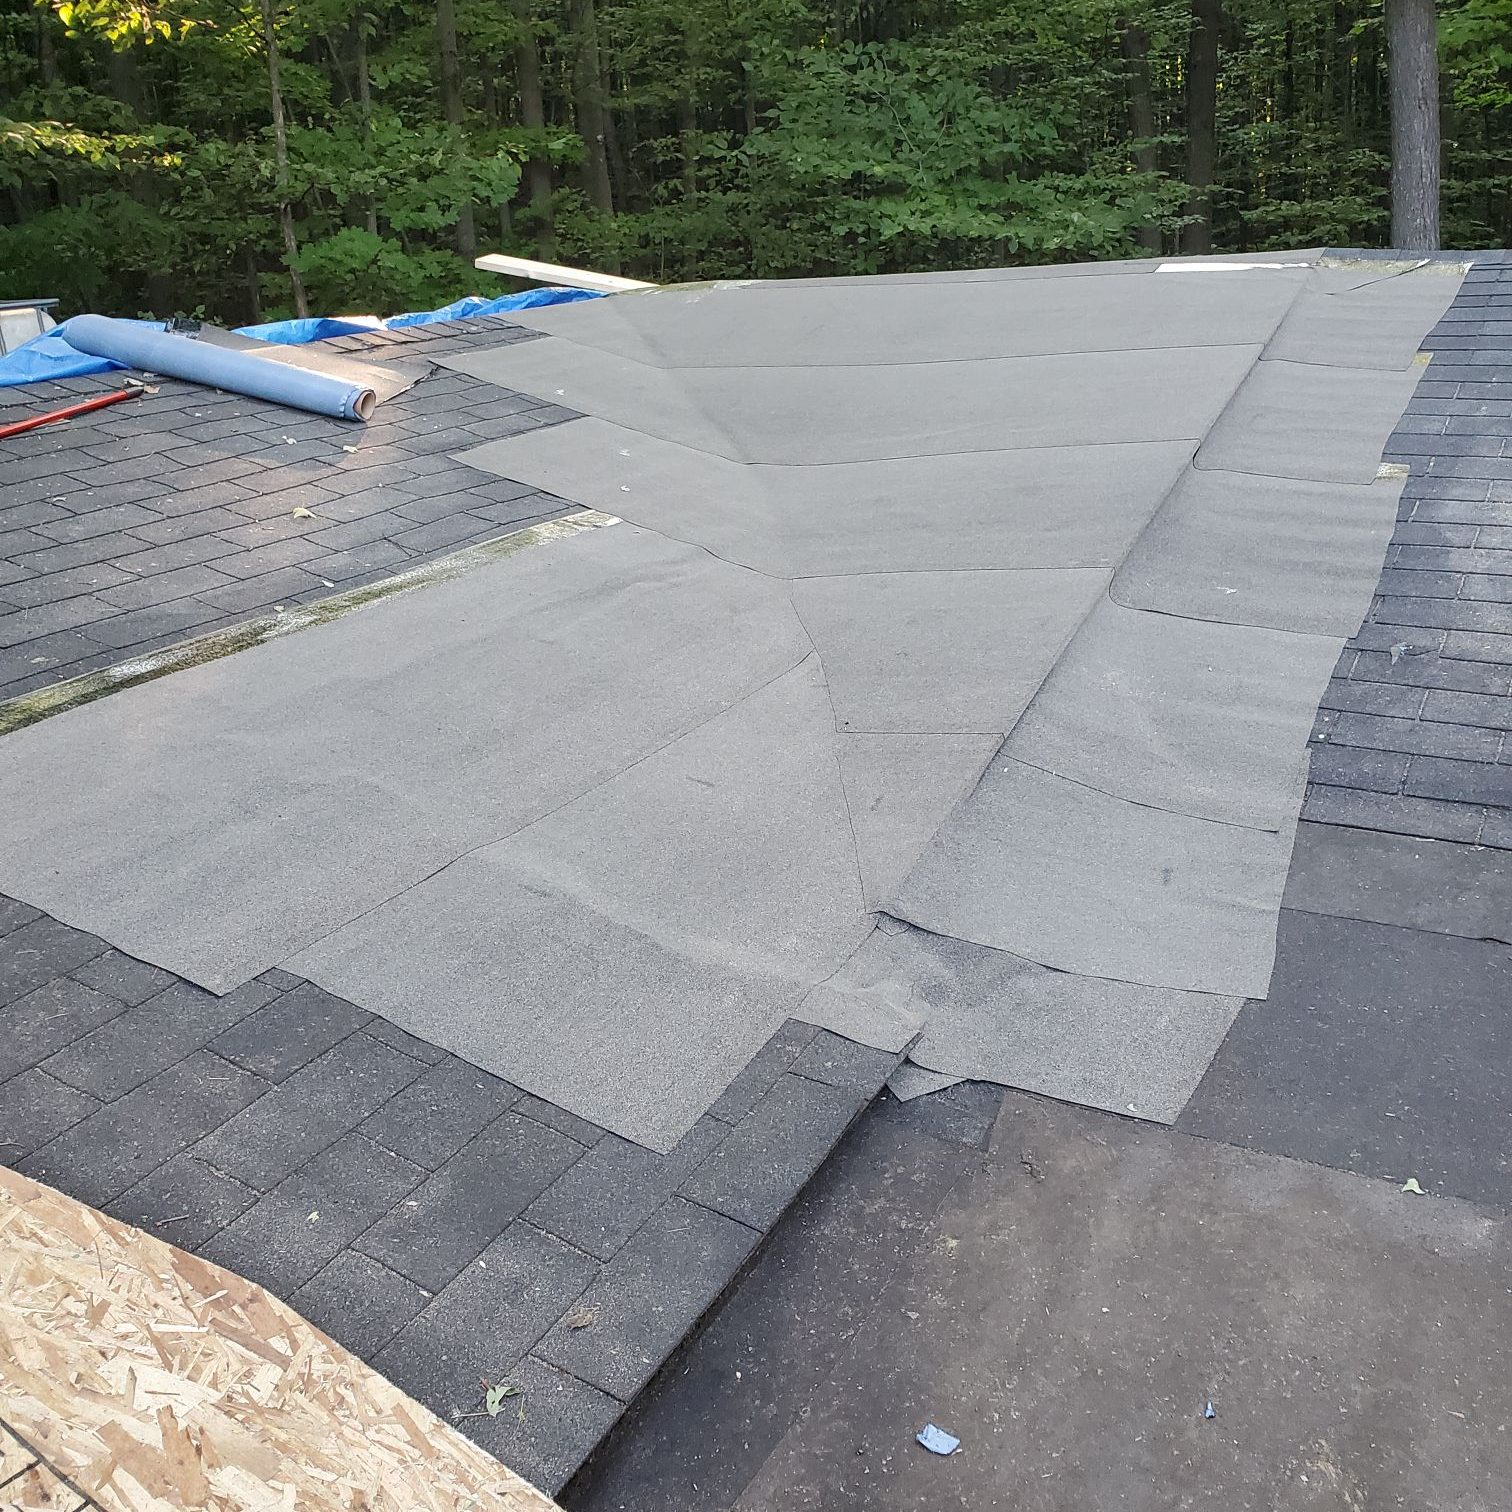
Spoiler Alert! It didn’t work and it still leaked! I ended up covering up the whole roof with a big tarp until I got a metal roof on the next year.
The roof extension went much better. That is once the rain stopped! I mentioned that I was working on this project over the coarse of about seven weeks, and rain is not your friend when you are working on a roof. At one point the flat roof was ripped off and the only thing keeping the elements out were the existing web left from the roof and a tarp.
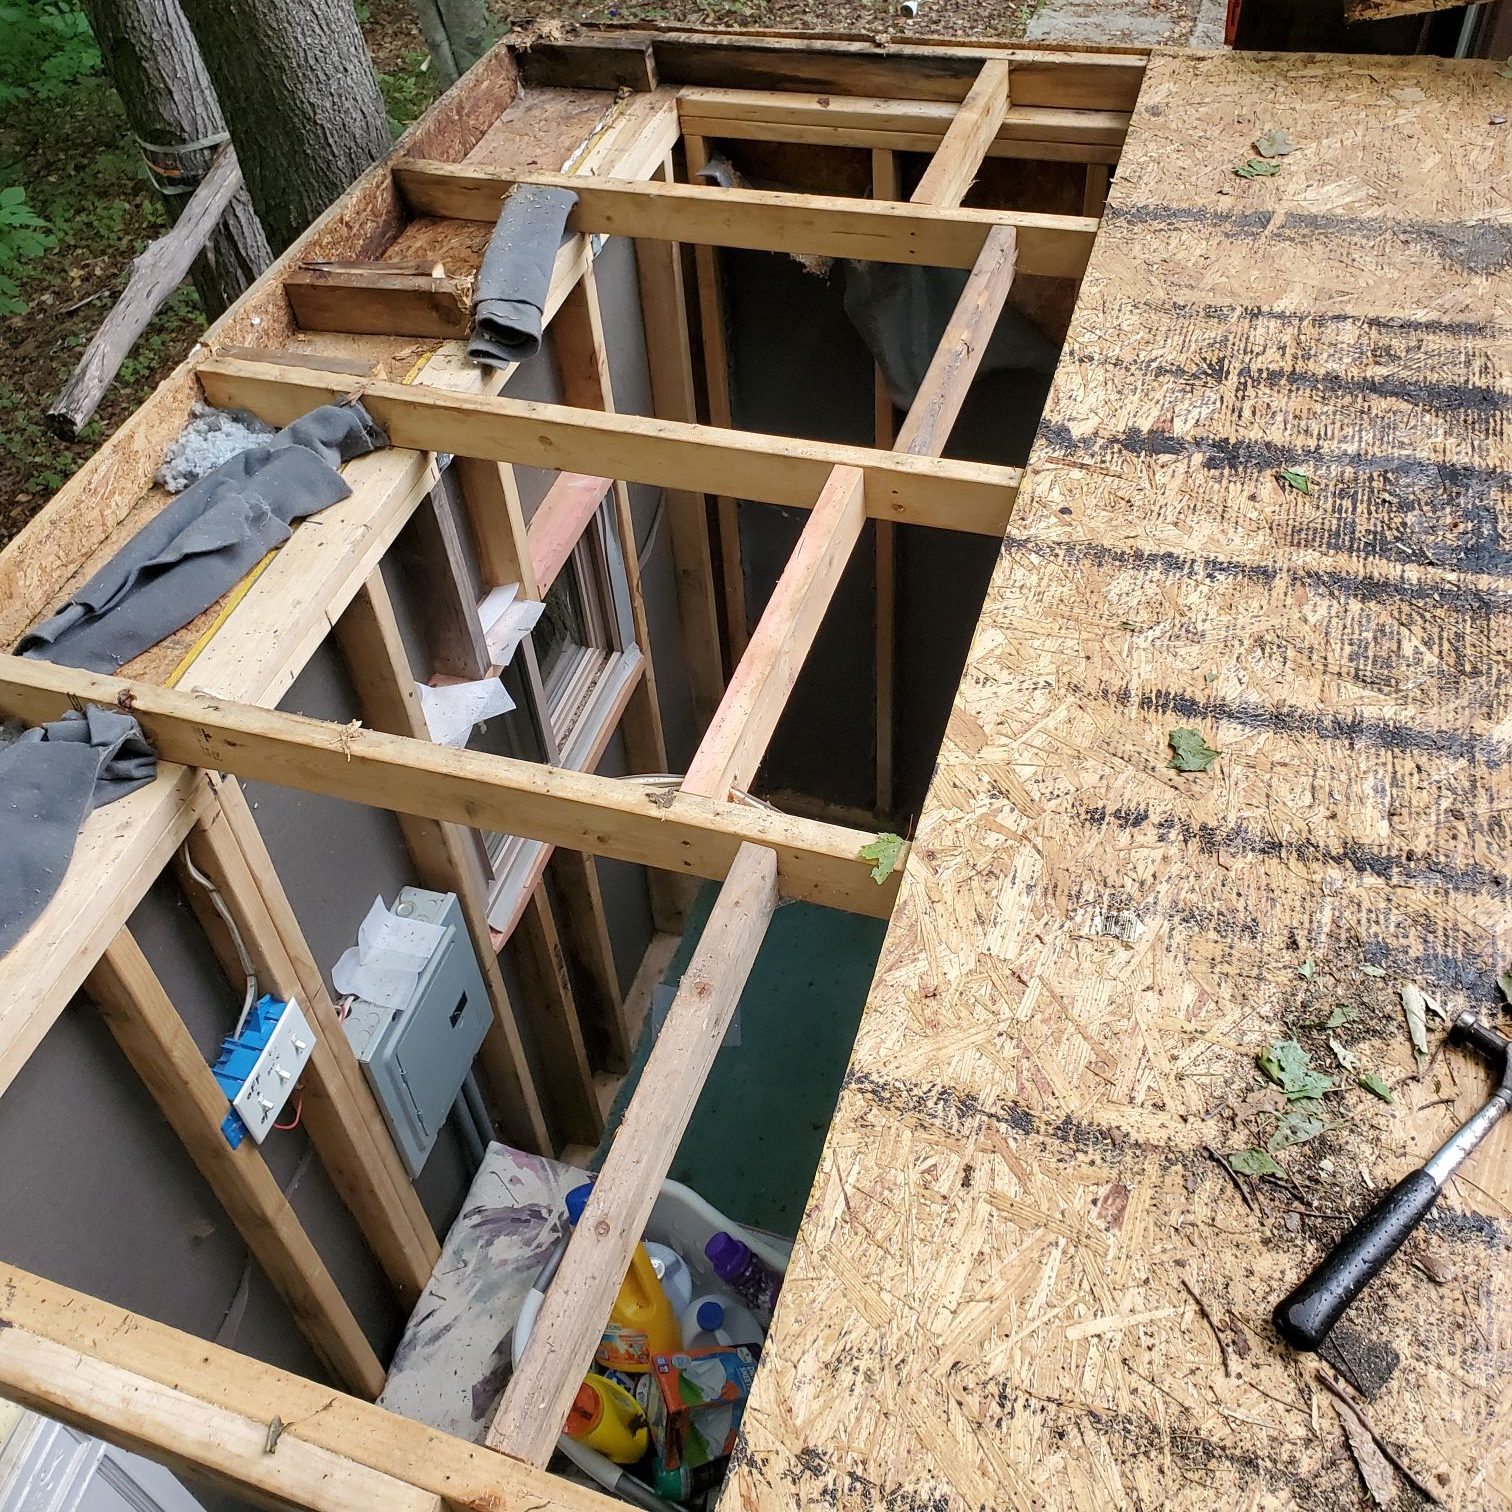
The tarp was tacked onto the exterior walls so it wouldn’t blow away. I arrived one weekend after a heavy rain with the tarp sagging through each square full of water. A comedy of errors ensued as I tried to push the water out of each square, which usually just resulted in me getting drenched and spilling most of the water inside the room.
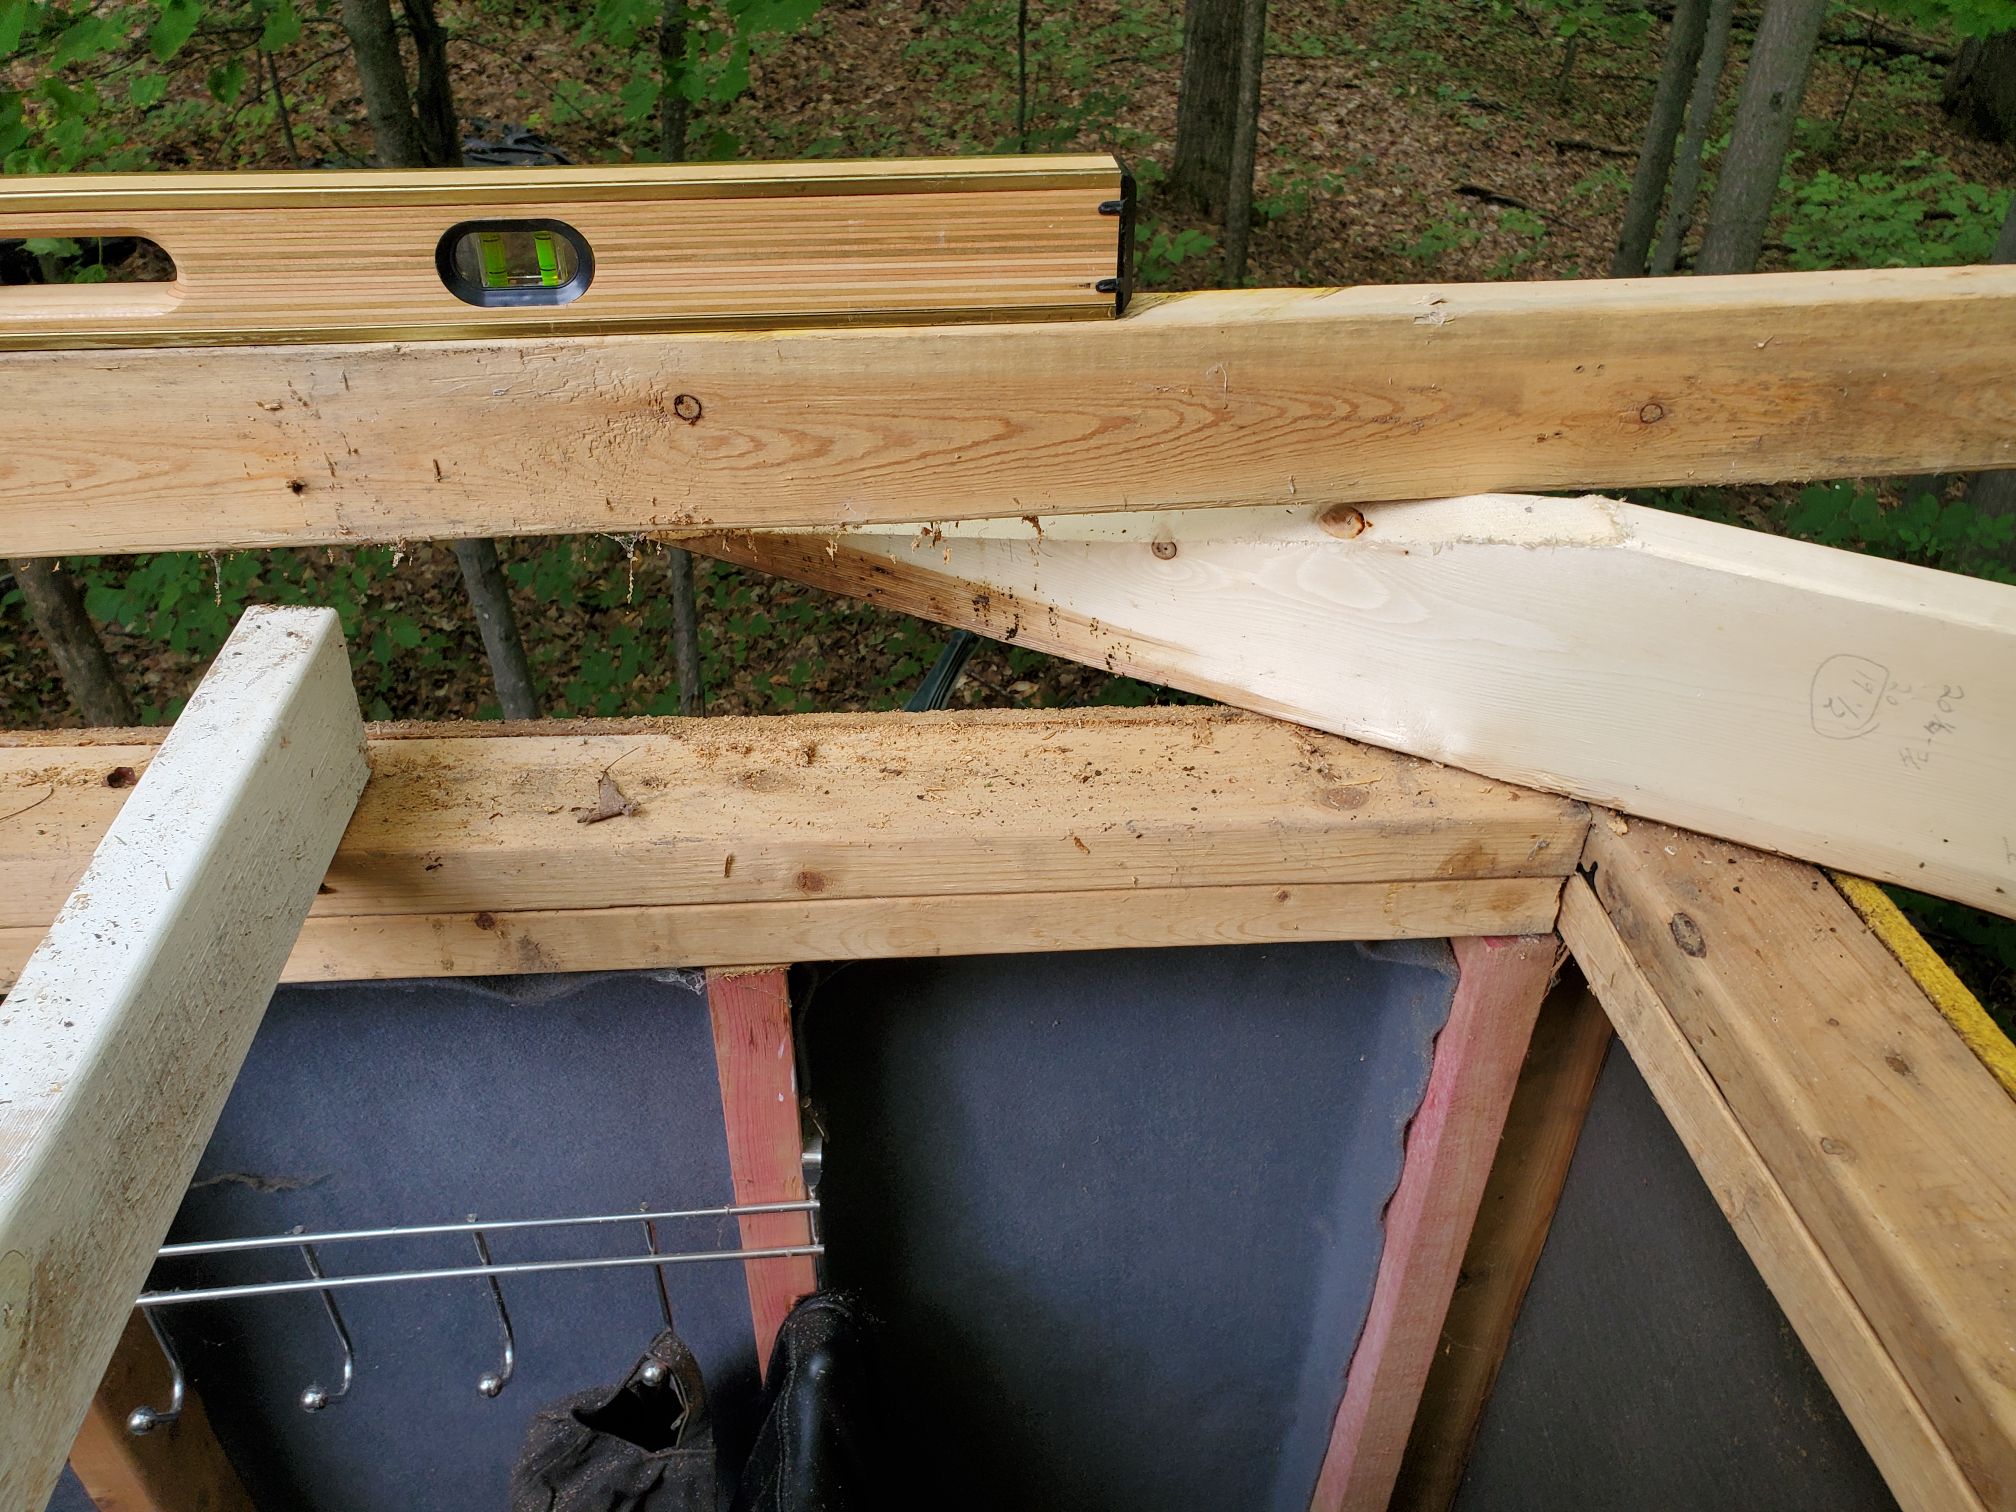
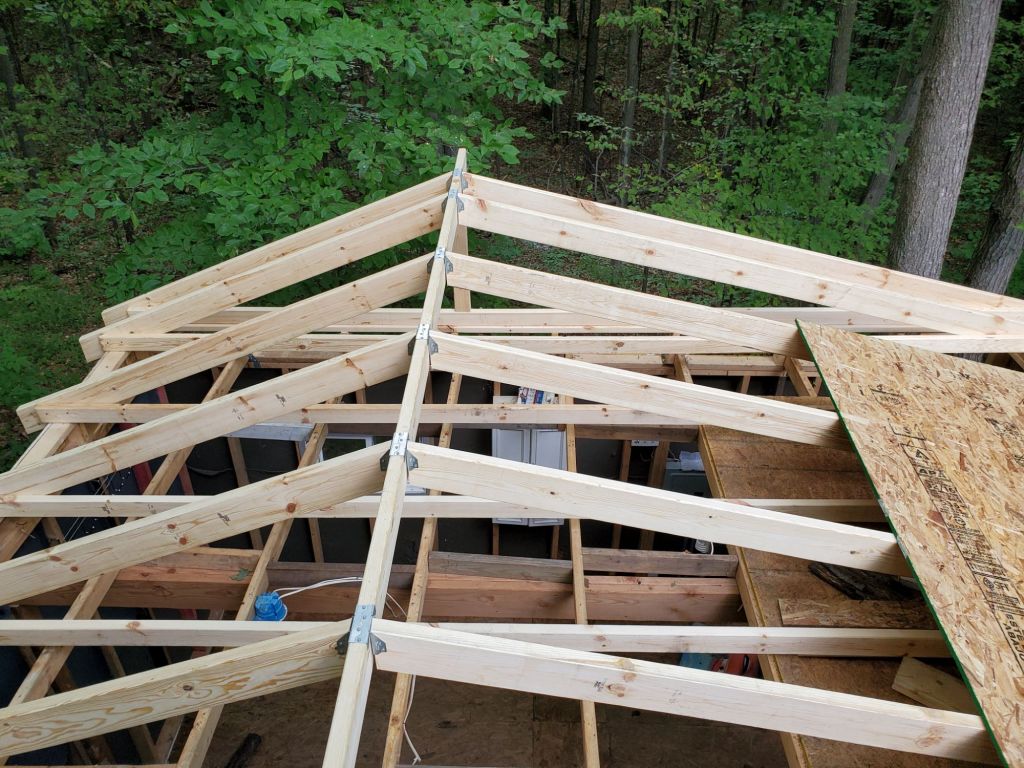
Out of everything I did with this project, getting the ridge beam in place for the roof extension might have been the hardest. If I had someone helping me it wouldn’t have been that big of a deal, but I was doing this whole project on my own. I finally managed to clamp it in place and started to add the rafters.
Then I just needed to finish the frame and put on the sheathing.
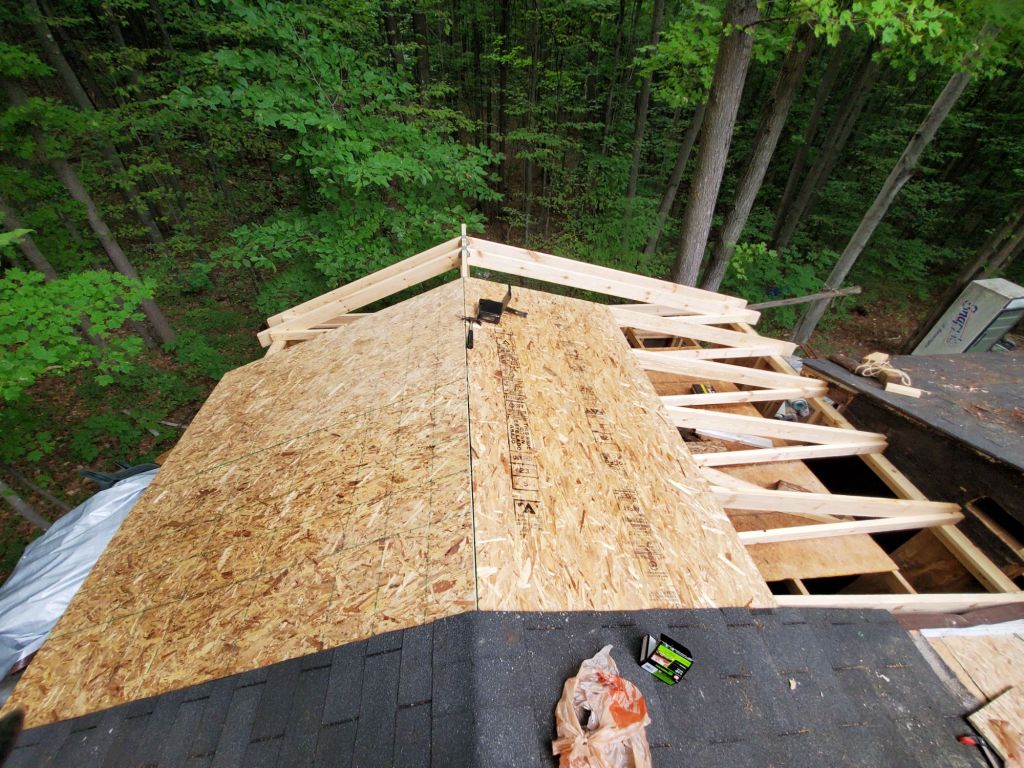
After the roof extension was done, I could finish up the other side of the perpendicular roof.
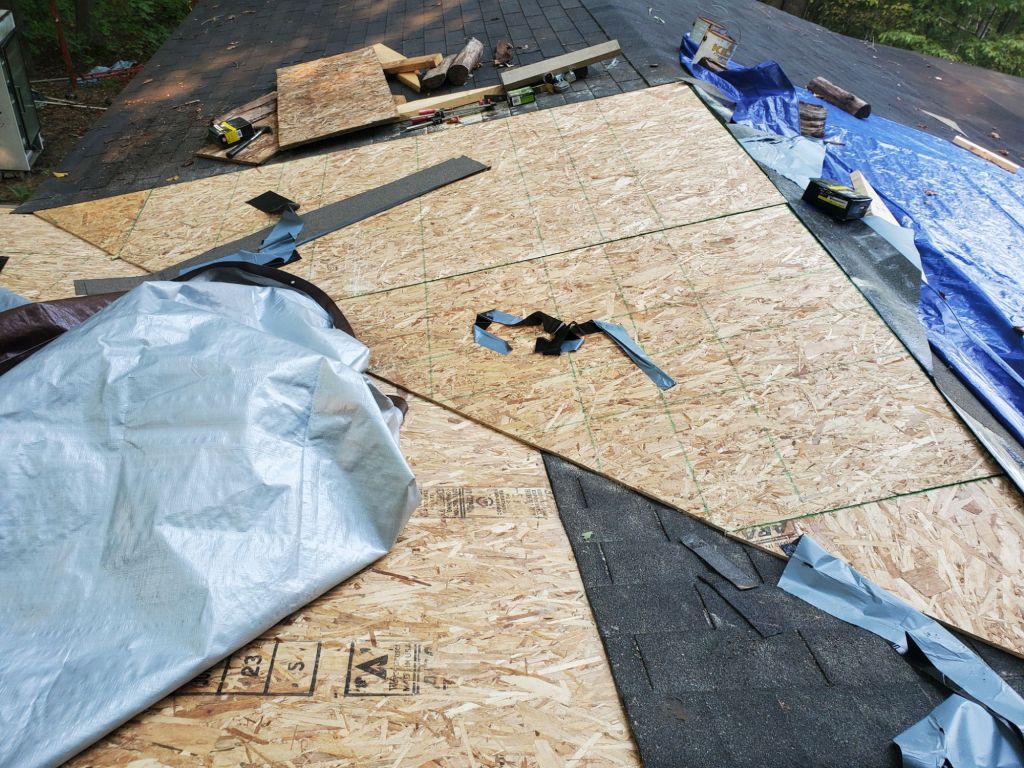
More tar paper and tarps went over the sheathing and the roof rebuild was finally done. It certainly wasn’t perfect, and for the next year it would leak when the tarp moved around or blew off partially, but it was better than it was before. Now that the roof didn’t leak, for the most part, I could get to work on making the inside habitable. By habitable I don’t mean nice, I’m still not there yet two years later, I just mean an environment I felt comfortable having my family stay the night in. This cabin renovation is a marathon, and I’ve had to take it one step at a time.
Before I started this project, the only roofing I had done was to help a few buddies rip off shingles and replace some sheathing. I spent hours watching YouTube videos learning about roof angles, how to measure the pitch of a roof, and how roofs are constructed. Don’t let your lack of experience stop you from tackling that project you’ve been putting off. Take the time to peruse YouTube, buy the tools you need (I’m always looking for an excuse to buy new tools) and give it try. More often than not you’ll find you surprise yourself with the things you can accomplish with some hard work and perseverance!
Let me know what you think in the comments below, and don’t forget to Subscribe!

Leave a comment