If you’ve ever spent time on YouTube watching Out of the Woods, or Sawing with Sandy, then you probably understand the alure of owning your own bandsaw mill. They are fun, and there’s just nothing like cutting open a tree and seeing what’s inside.

One of my many hobbies is building furniture, so I’ve longed to have my own mill for quite some time. I tried, more than once, to convince my wife that it would be a good idea to setup a sawmill in our backyard. She wasn’t having it. It wasn’t until we got The Maple Mansion that the dream of owning a mill became much more realistic.
In addition to being a fun toy, I mean tool, the mill serves a real purpose. Making free lumber! With the prospect of needing lots of lumber to finish various projects around the mansion it was time, once again, to convince my wife we needed a sawmill. This time I had a couple aces up my sleeve. The first was that my dad was equally interesting in owning a sawmill and said he would go in on it. The second played right into the best way to convince my wife of anything, explain how it will save us money.

The exterior of The Maple Mansion is just OSB, and we knew we needed to put some kind of siding on the building if we wanted it to last. I priced out what it would cost to put vinyl siding on the whole building and it was the same price as buying a sawmill. “Dear, if we make our own wooden siding for the mansion the mill will pay for itself, and it will look much nicer than vinyl siding.” Done and done!
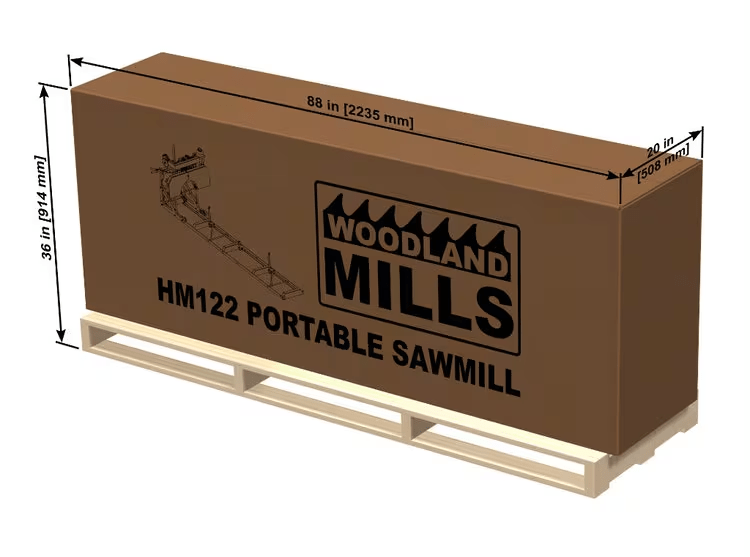
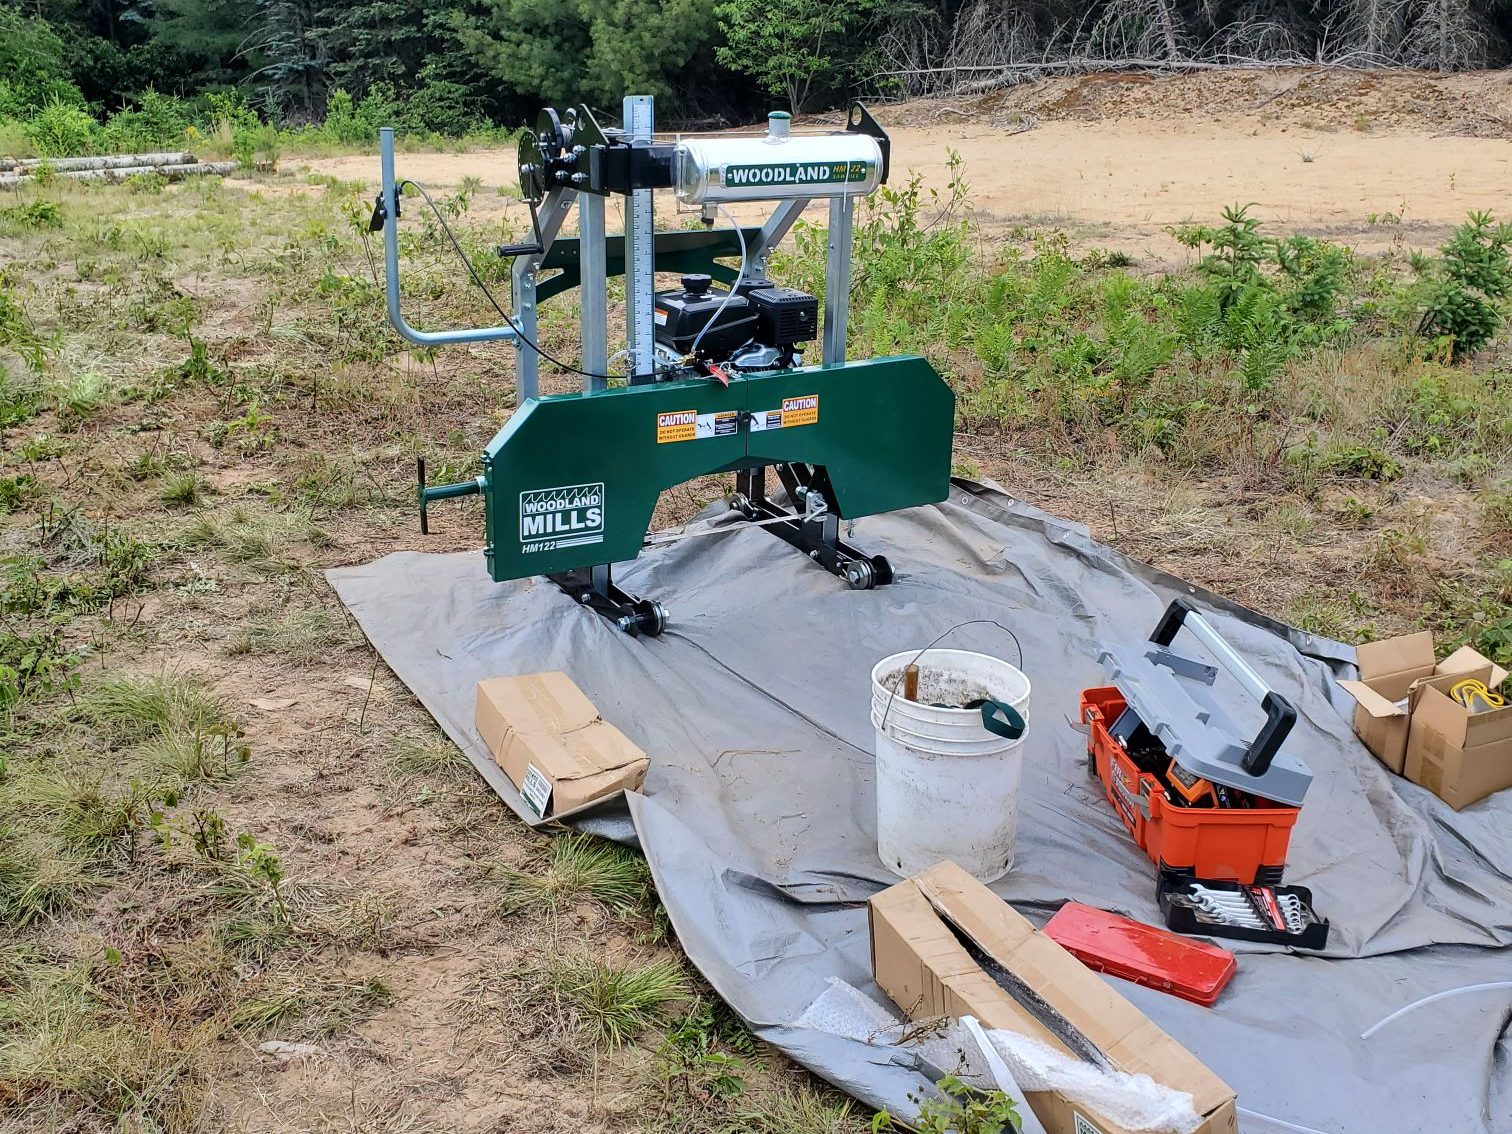
Woodland Mills HM122 Portable Sawmill
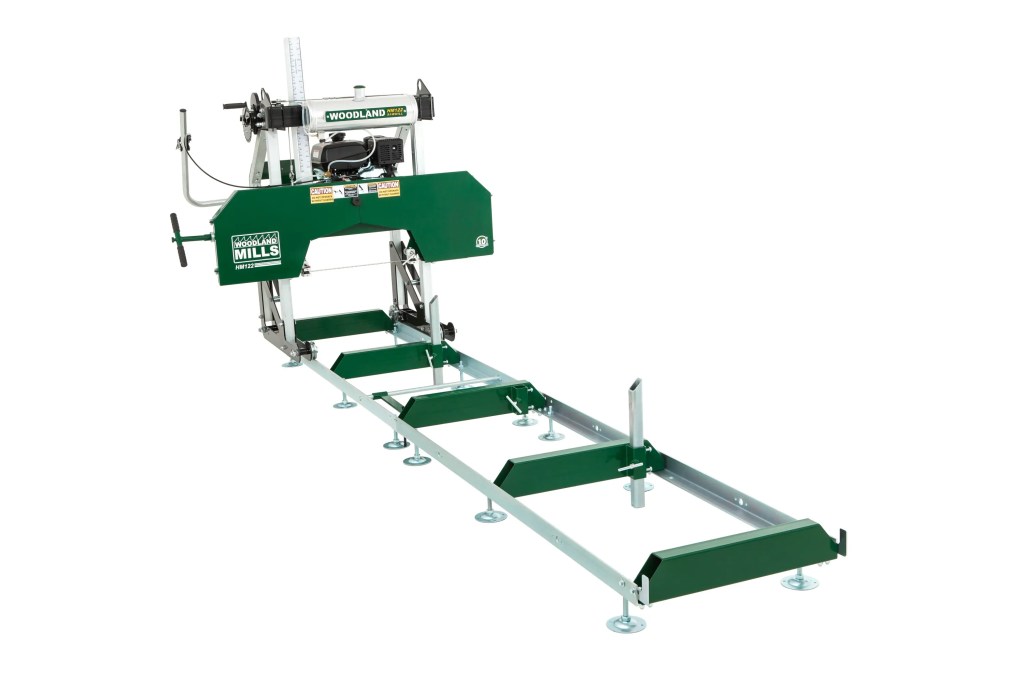
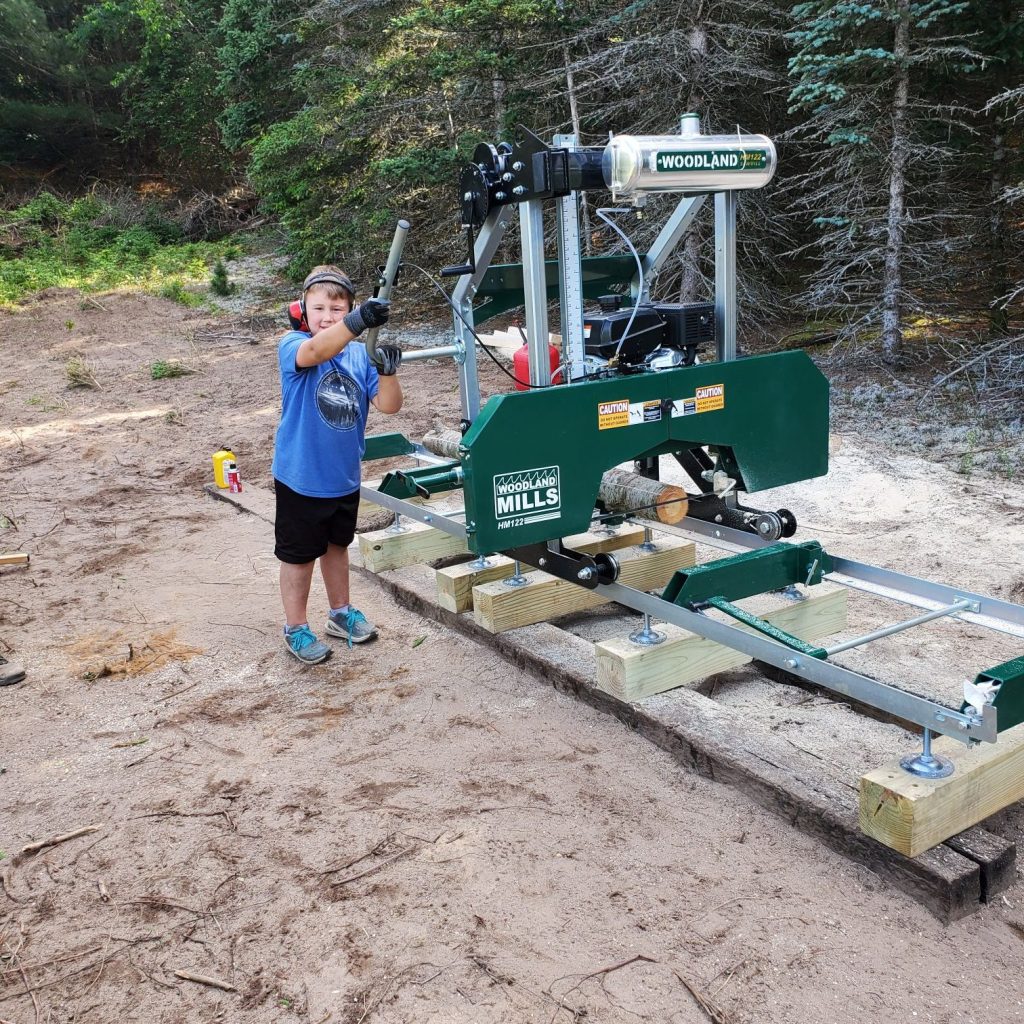
We were on a budget, so a Woodmizer was out of the question. My dad and I decided on the Woodland Mills HM122 Portable Sawmill. Woodland Mills has a good reputation and is reasonably priced. Our mill is the smallest option and can cut logs 22 inches in diameter. There is a 7 hp option, but we splurged and got the upgraded 9.5 hp Kohler engine. You can can also purchase a tow behind trailer to put the mill on so it is portable, but we went with a permanent installation.
Deciding on the Base
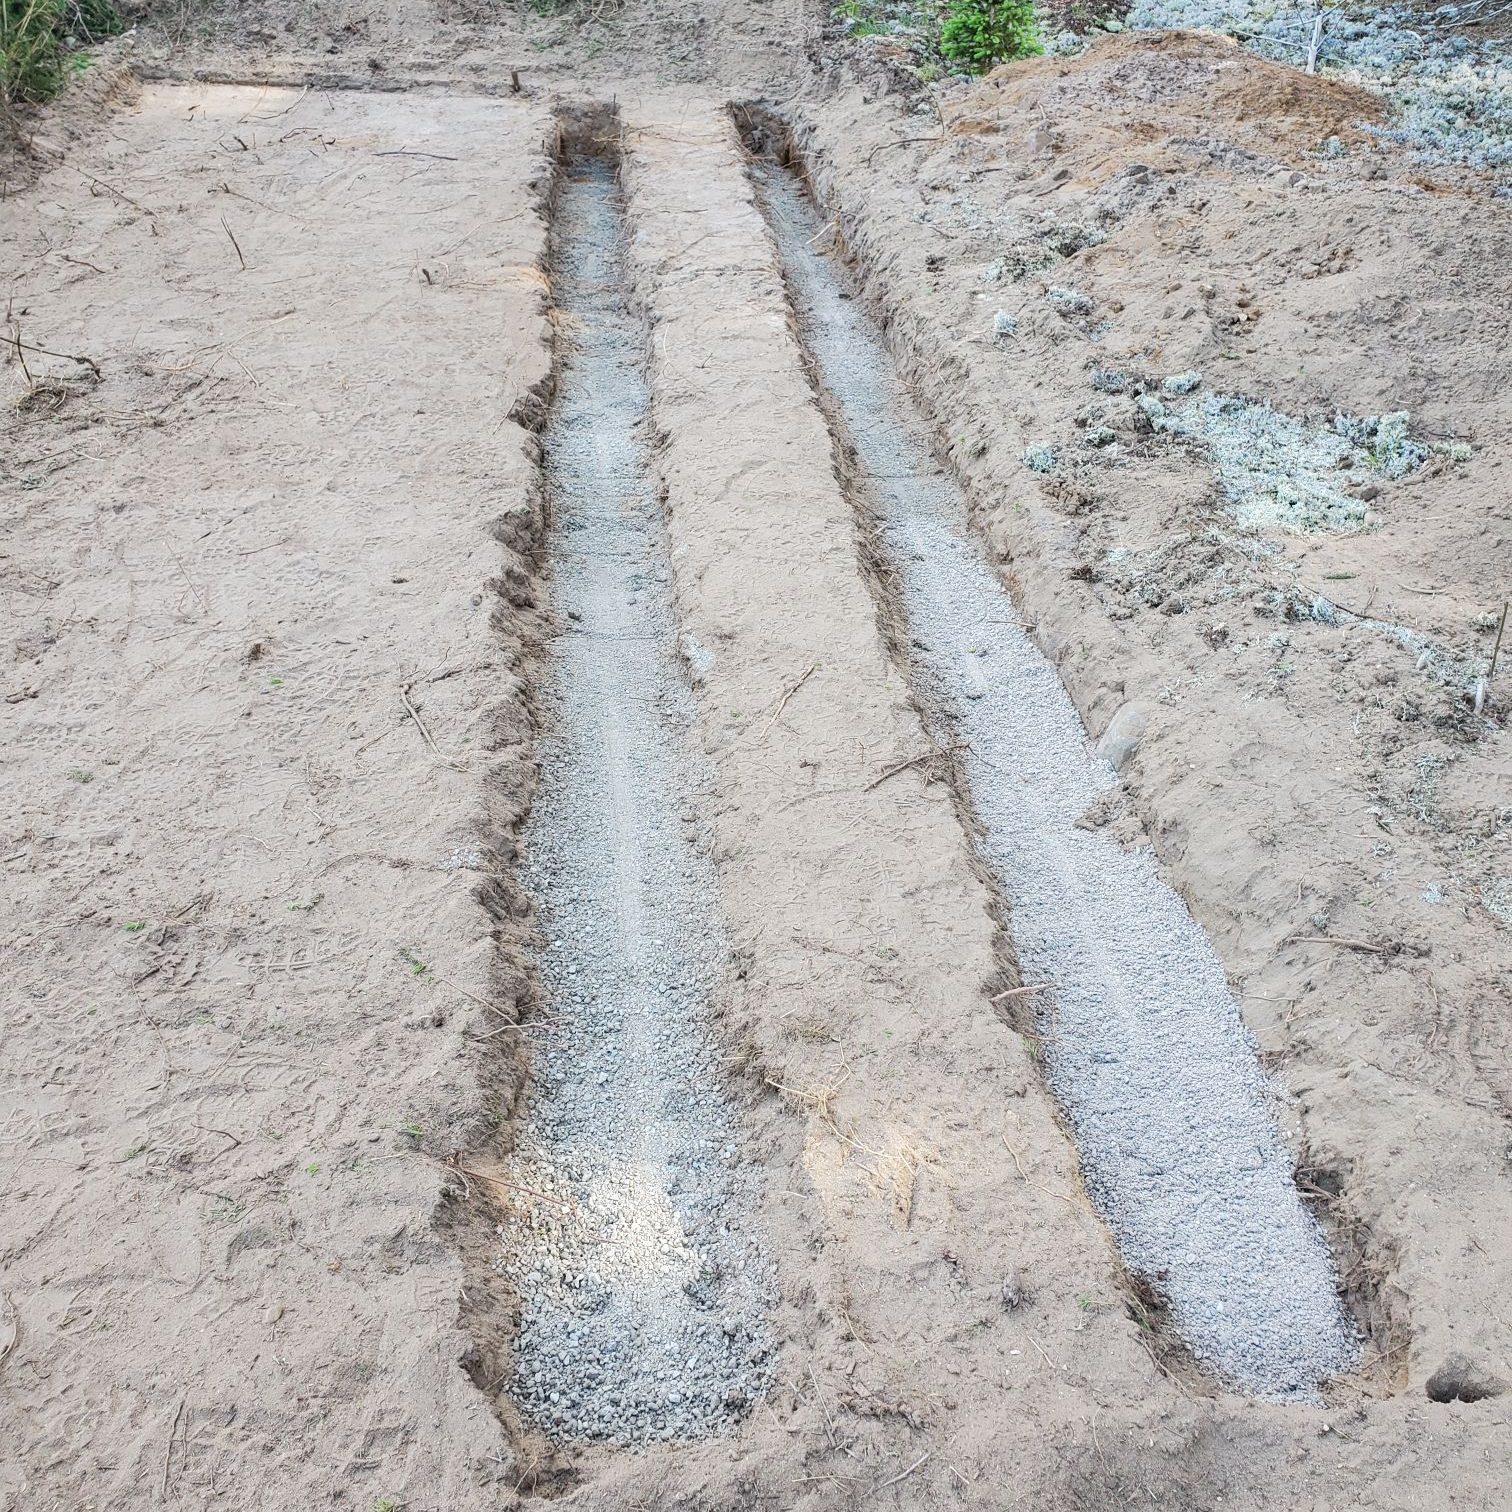
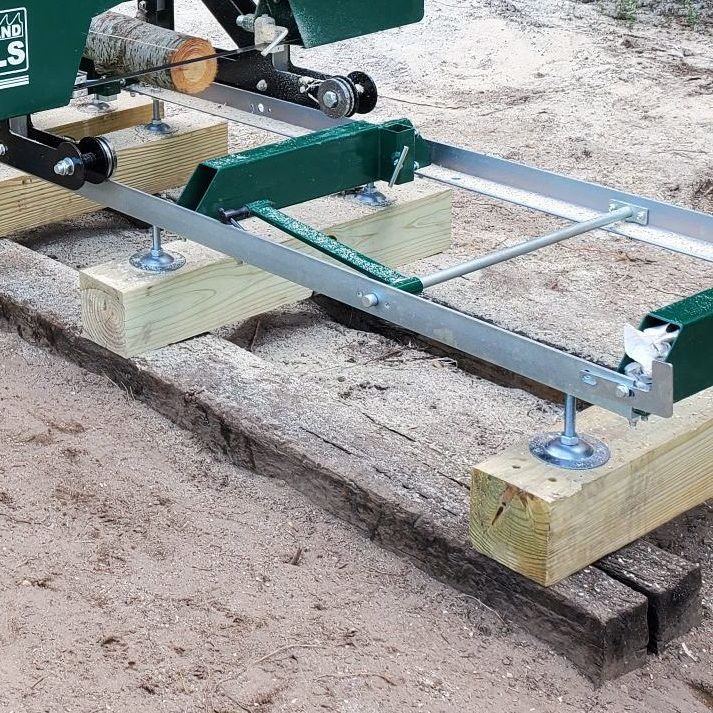
If you scour the internet you’ll find plenty of ways people make a base for their mills. We went for a fairly simple approach. We dug two parallel trenches, packed down a bunch of paver base, and leveled out railroad ties over the paver base. On top of that we secured pieces of 6″x 6″ lumber with timber screws perpendicular to the railroad ties. The legs of the sawmill screw into the 6″x 6″ lumber.
My dad and I just checked the bunks this weekend, and after two winters, everything is still level and coplanar!
Putting the Mill Together
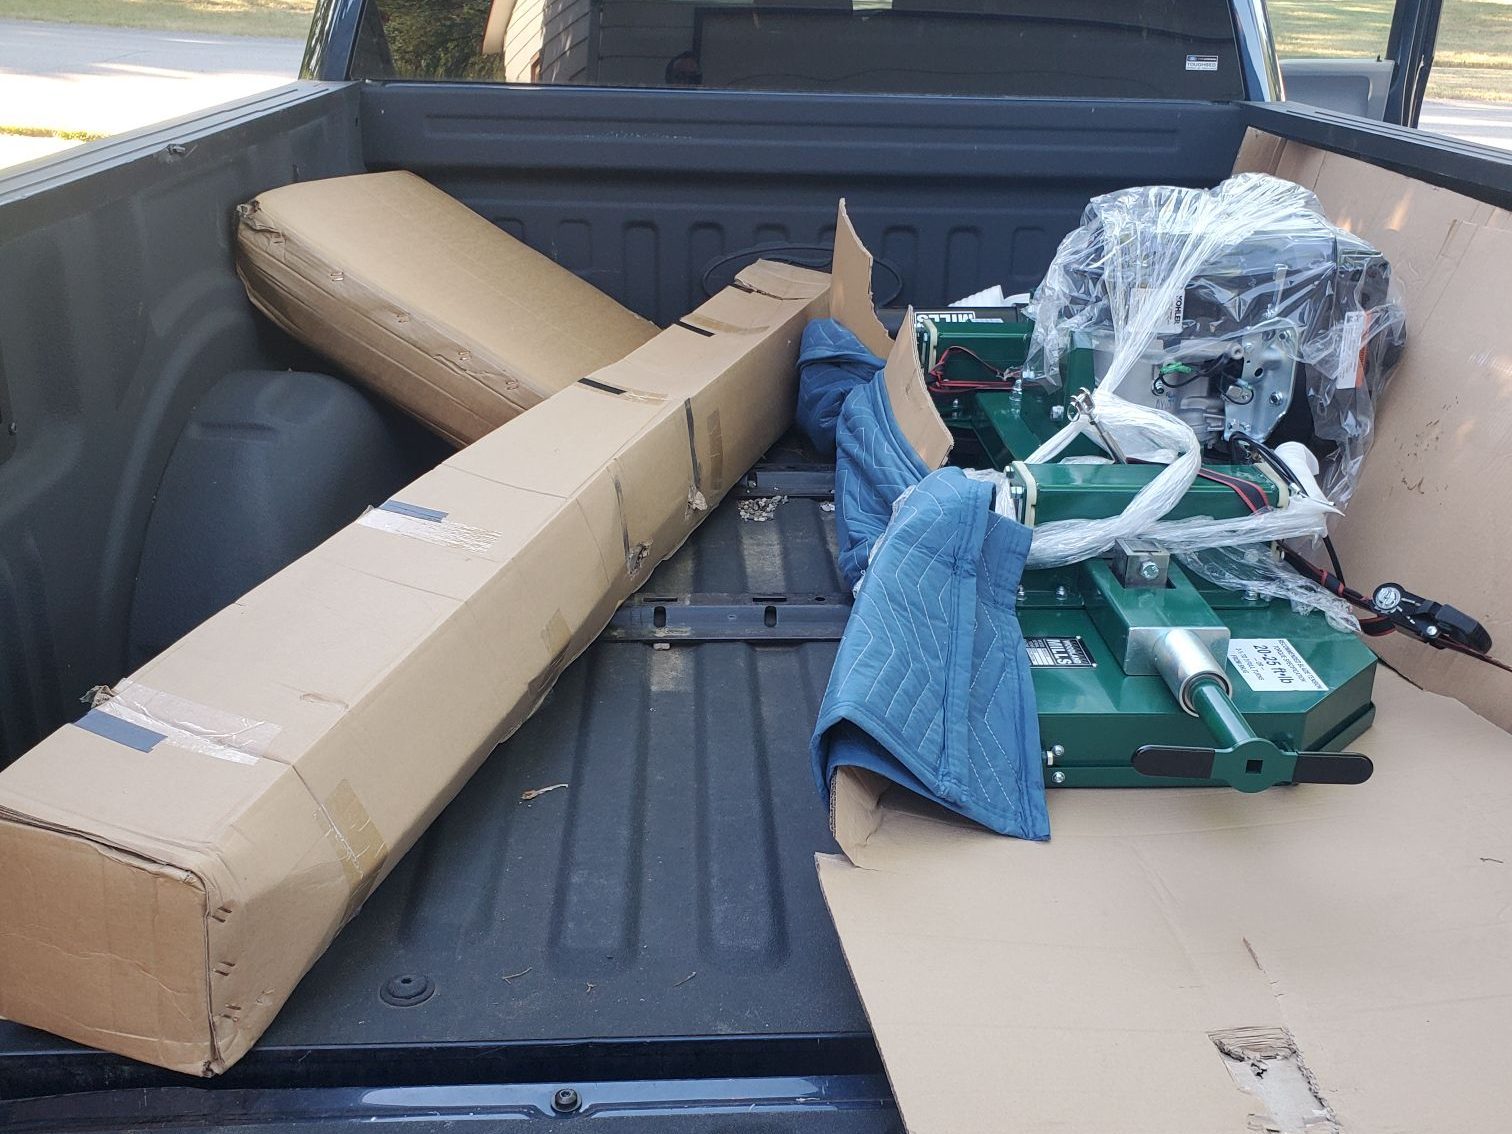
Obviously, the mill doesn’t come assembled. It is delivered in one 679 lbs box.
Since there was no way to get the whole box in my truck, I had to partially unbox it at home so I could get it up north.
Assembling the Track
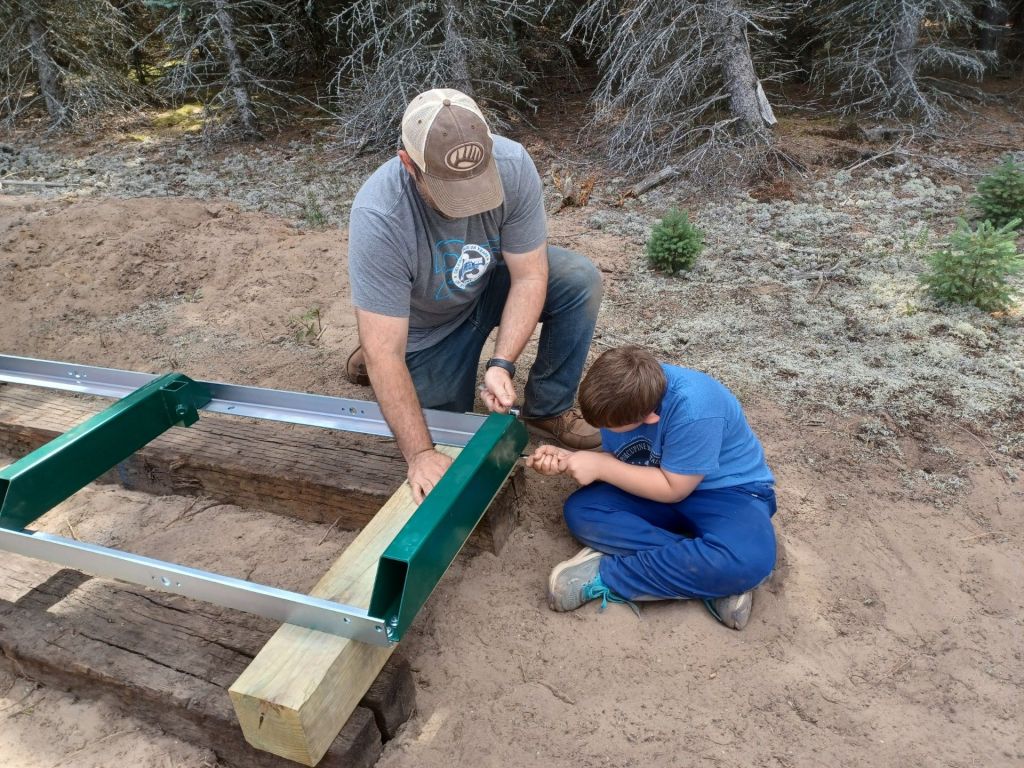
Once we got everything up north, it was time to assemble the track to the bunks. (The bunks are the green cross pieces that the log sits on.)
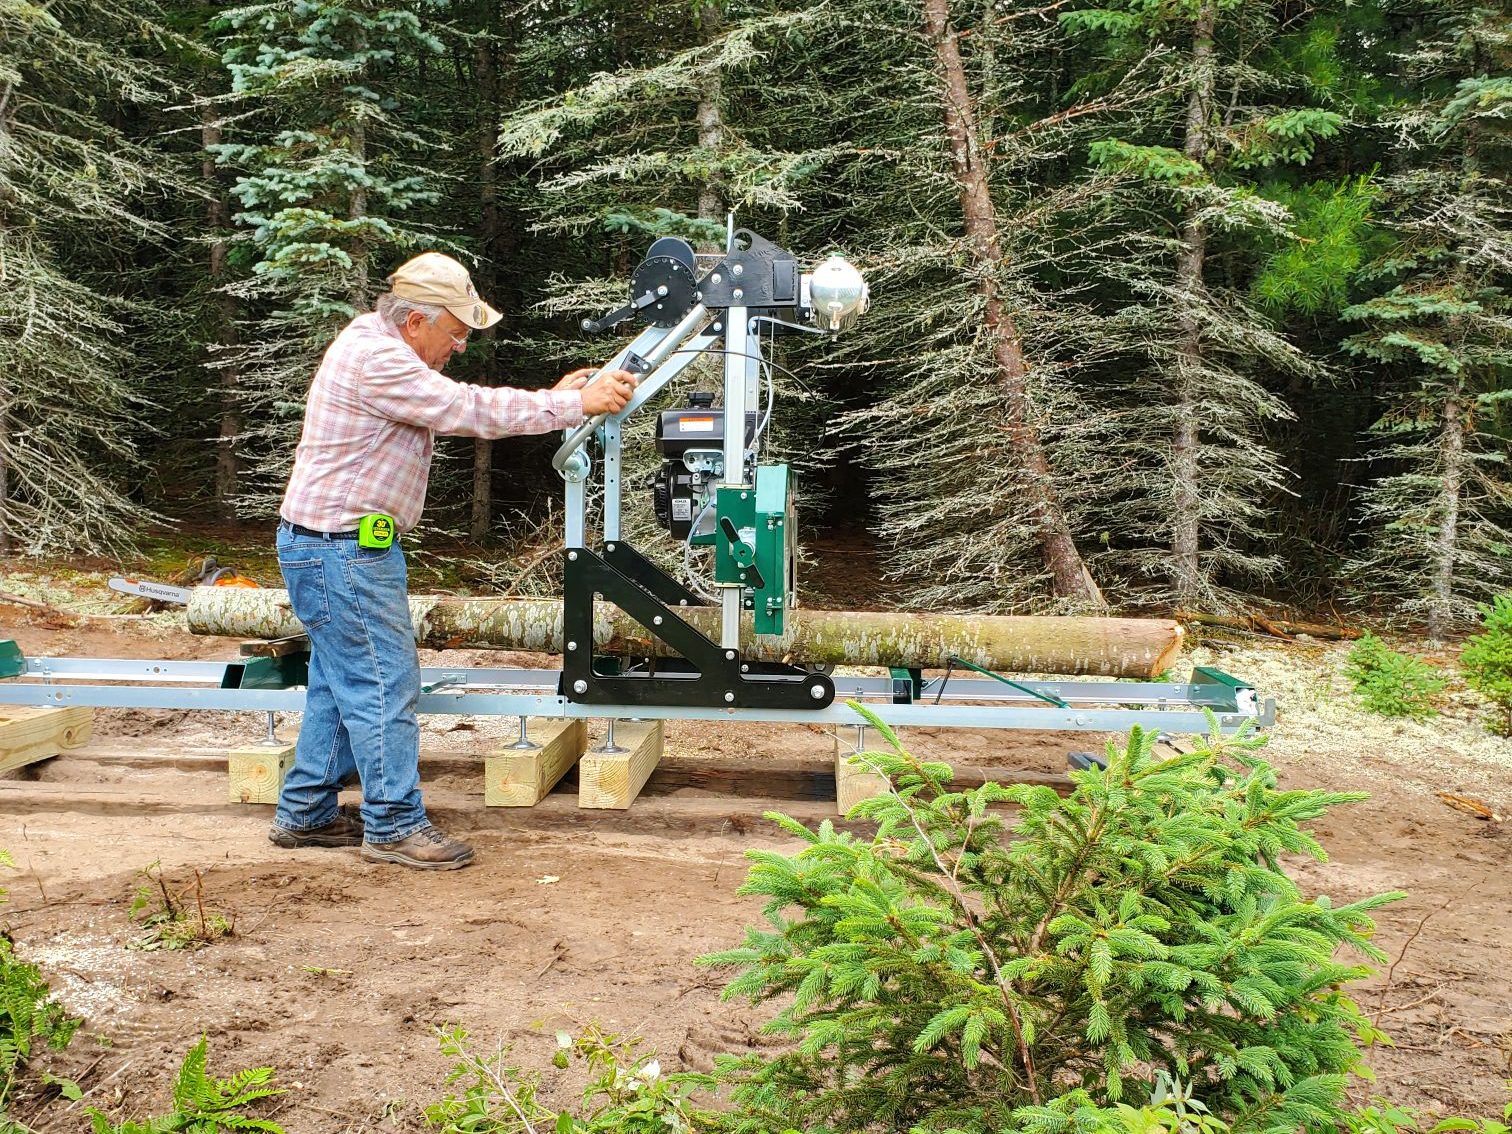
Putting Together the Sawmill Head
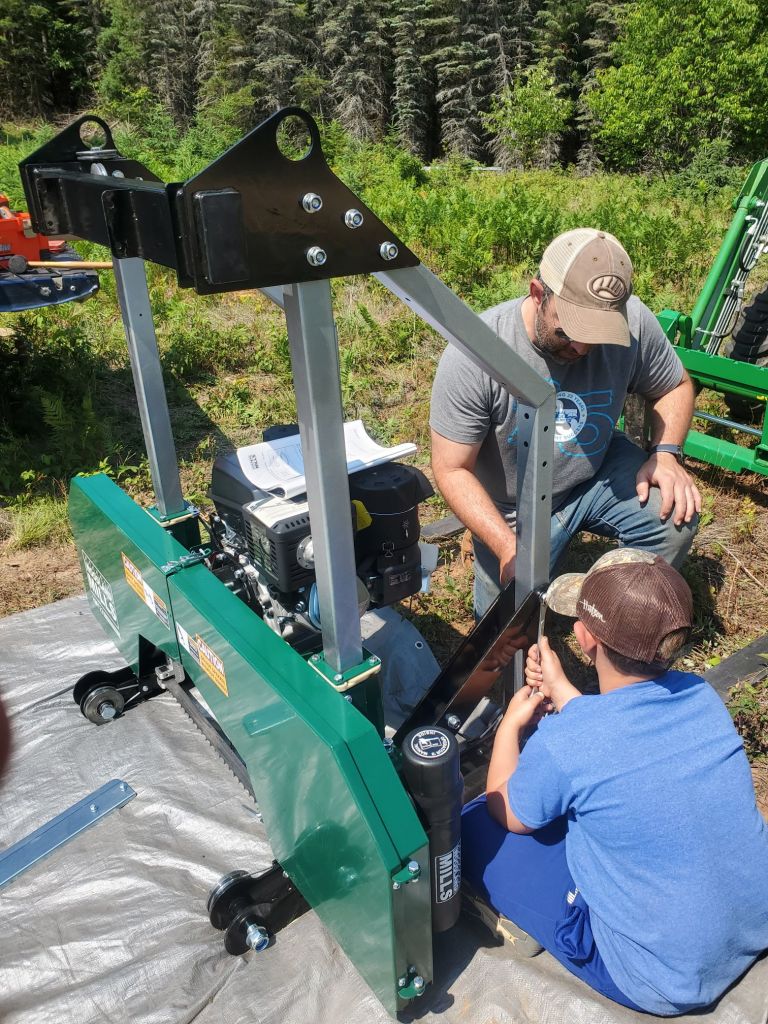
Next it was time to put together the saw head. Just about everything is assembled using nuts and bolts. My son was a big help holding the wrench so I could tighten down the bolts. At the time he thought I was just making up something for him to do. If you’ve ever had to tighten down hundreds of bolts, you know the value of a second set of hands. Holding the wrench isn’t hard to do, and can seem like a menial task. That doesn’t make the work any less important. This is a lesson my son is just now starting to grasp, and this project is the example I often refer back to when trying to make this point.
Once the saw head was assembled we used the tractor with the Titan Attachment forks and a chain to lift it up onto the track.
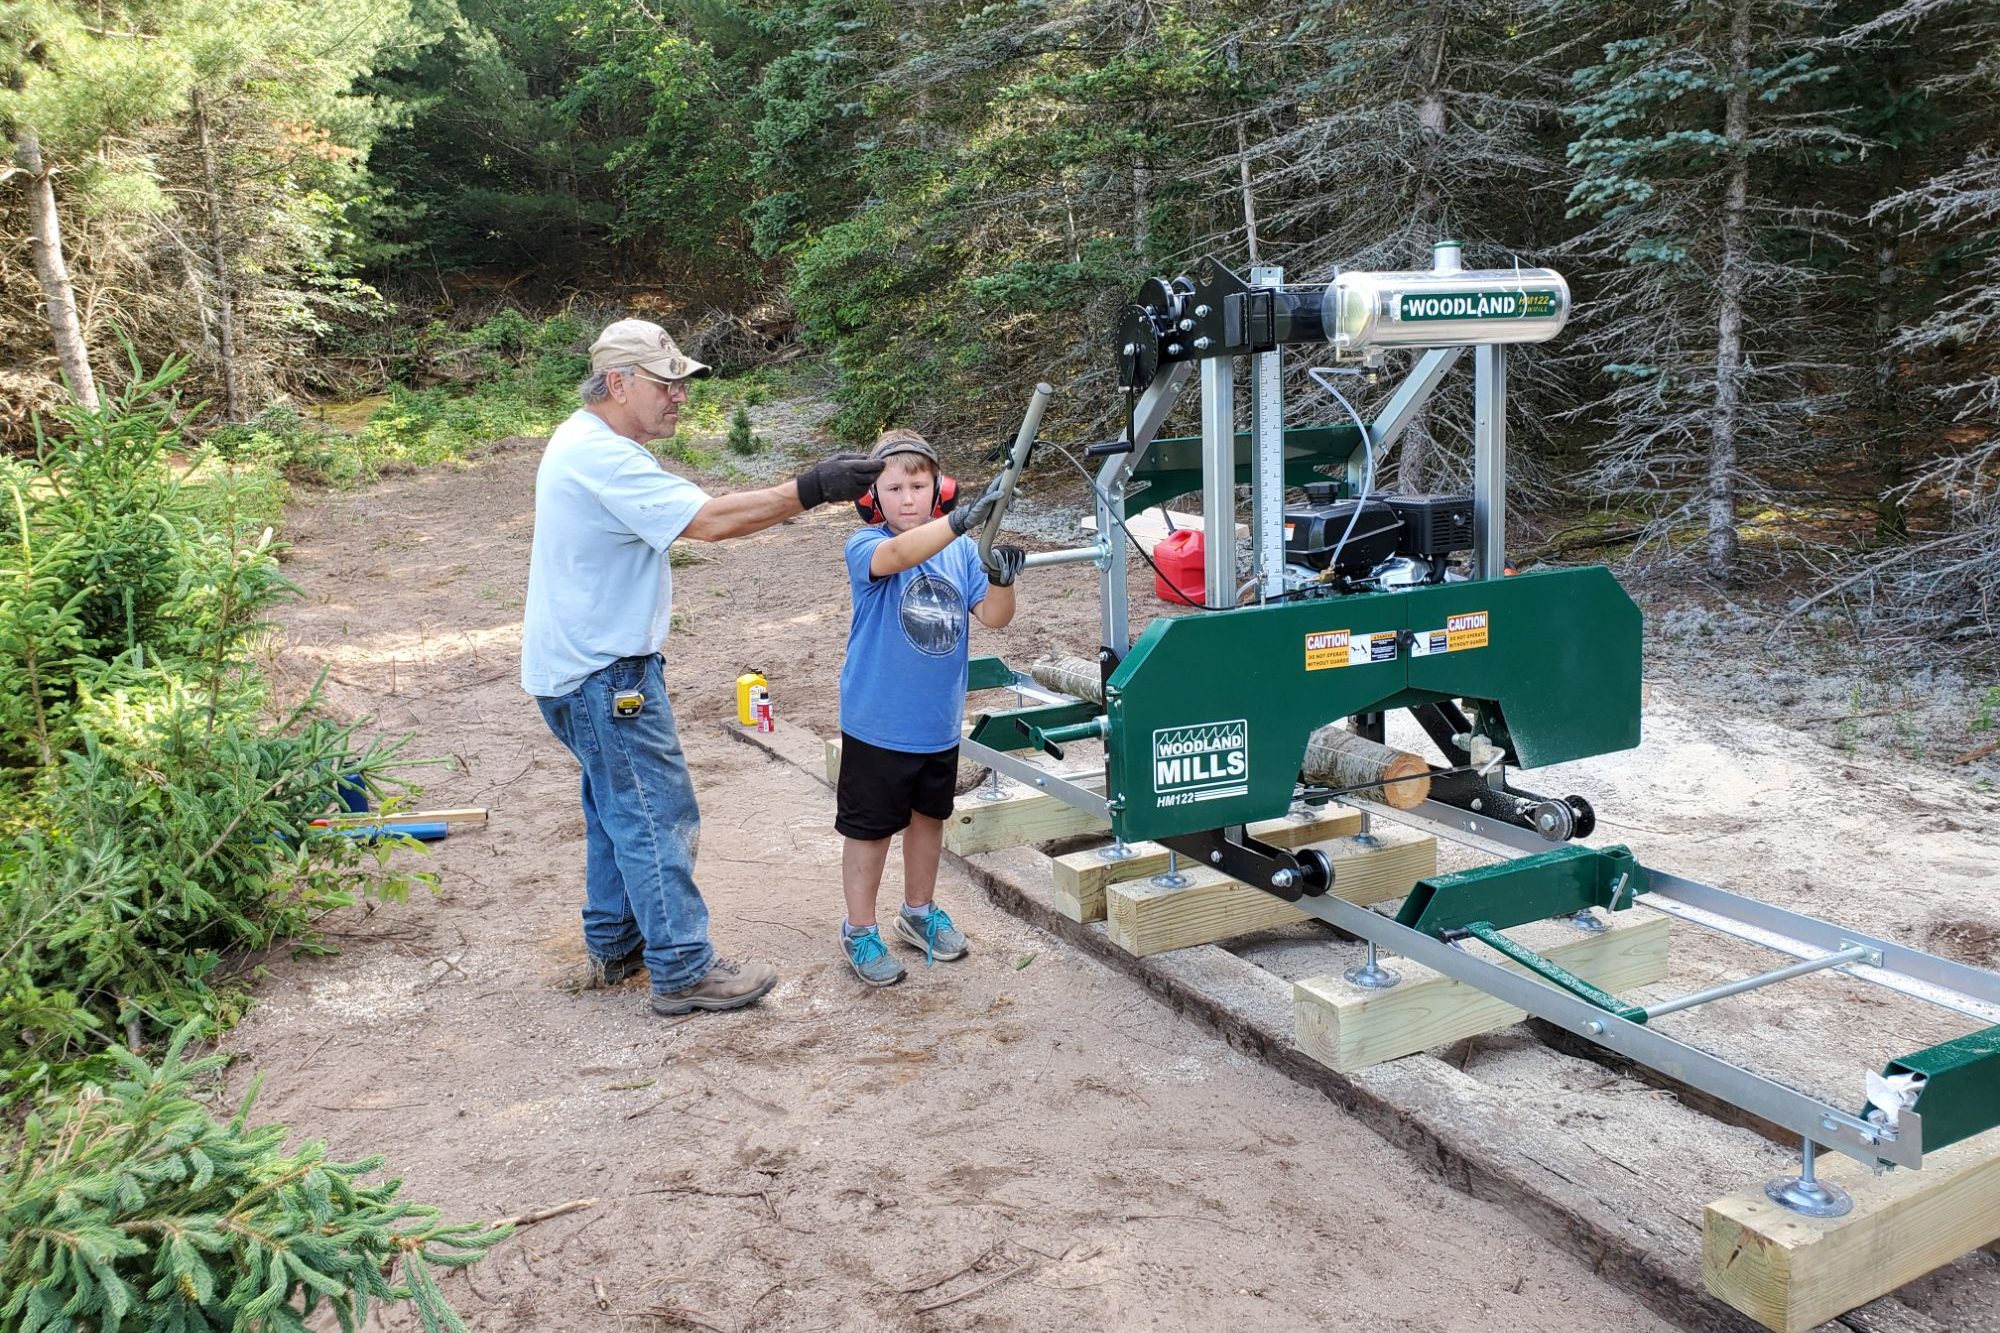
Time to Try it Out!
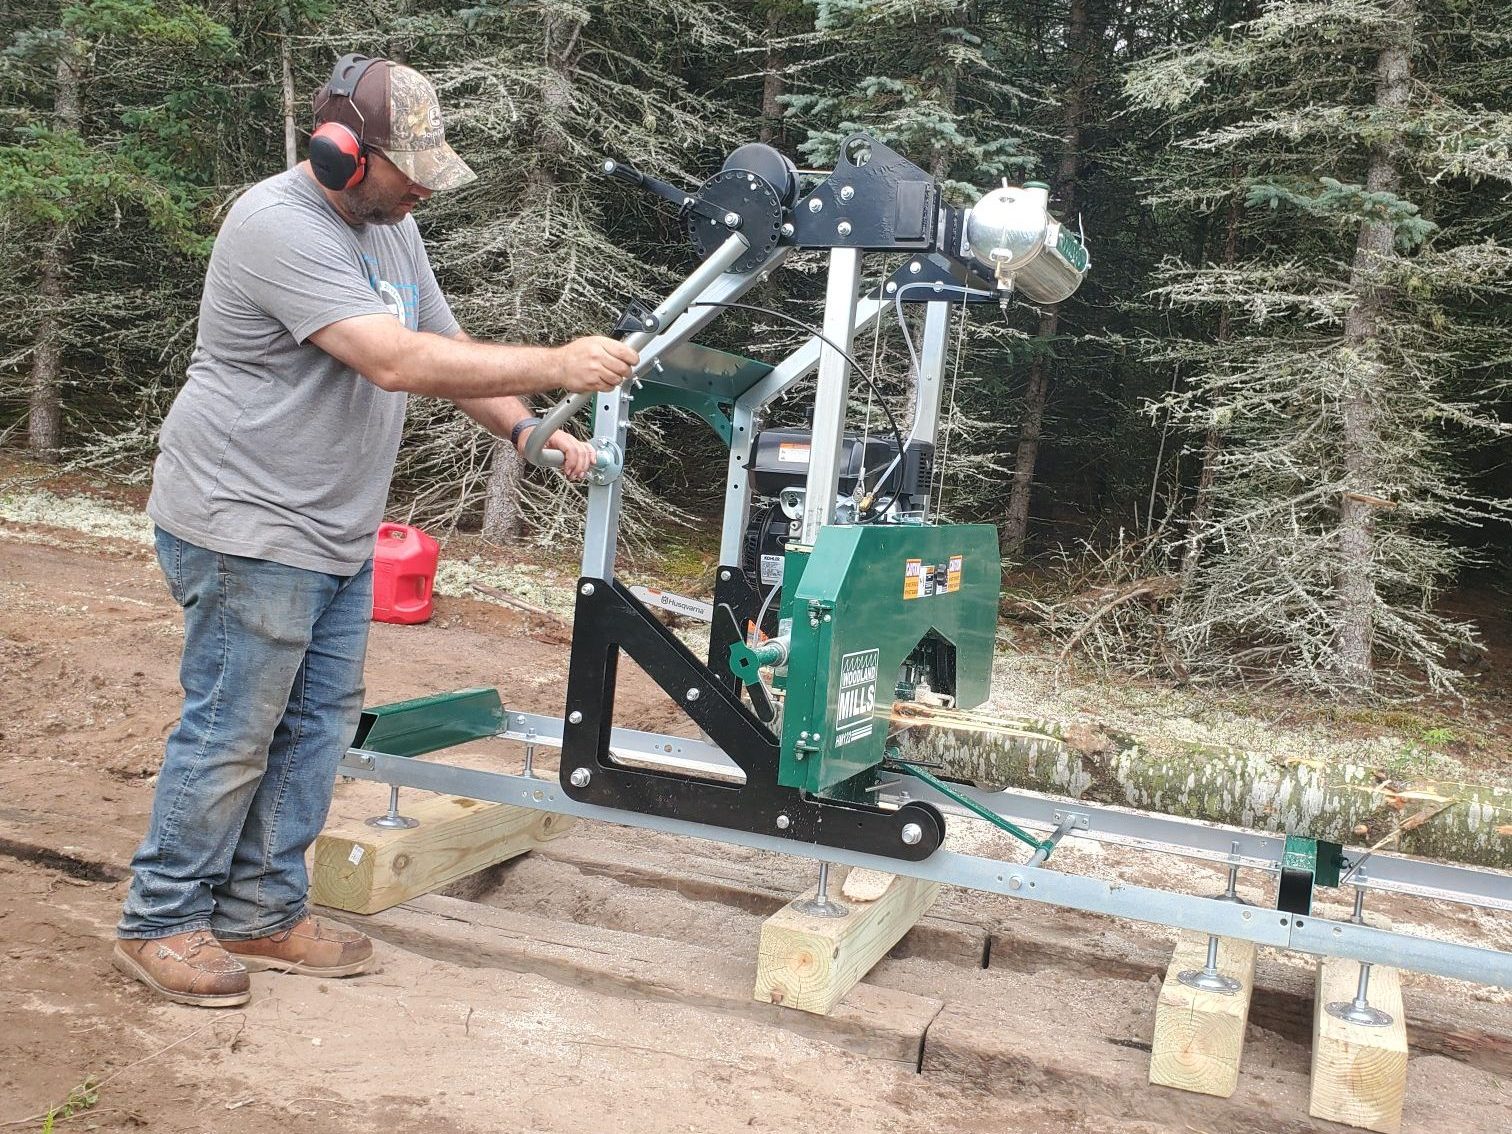
The HM122 is pretty easy to use. Once you have a log on the bunks you just squeeze the handle and push. We were all surprised how easy it was to push. Even my son, who was about eight at the time, was easily able to channel his inner sawyer and start cutting lumber.
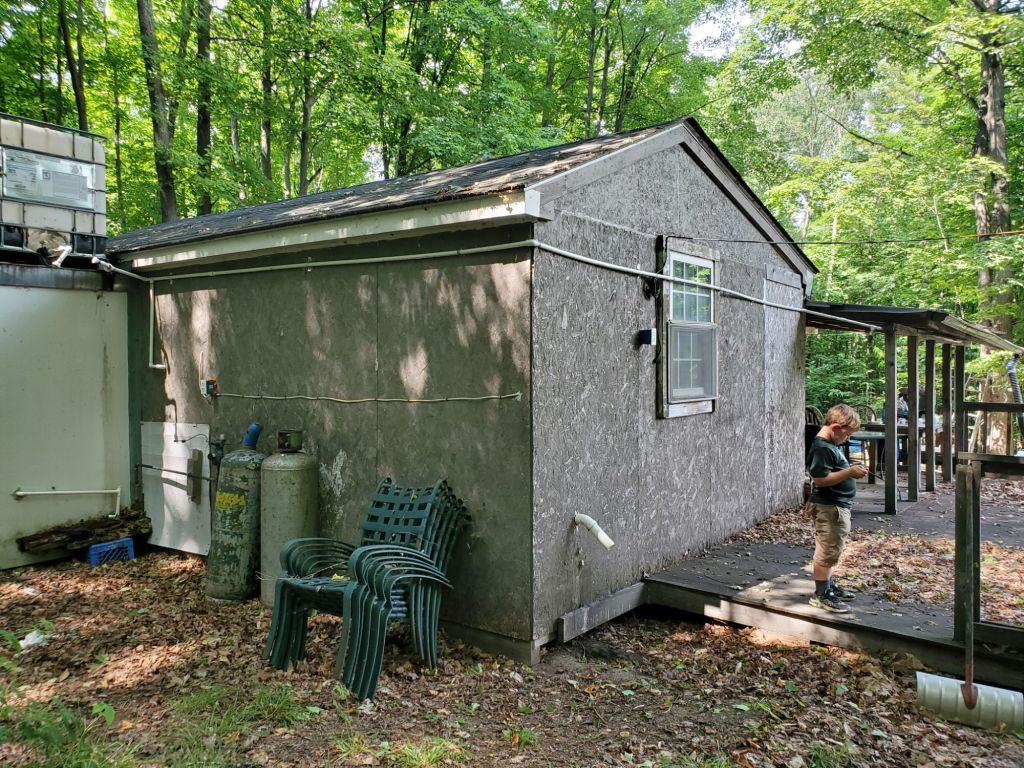
After a few adjustments it was time to starting cutting lumber. The mill lay amongst the pines under a tarp for most of that first summer. That is until we finished the first project on the docket using the lumber we milled ourselves, a shed for the sawmill.
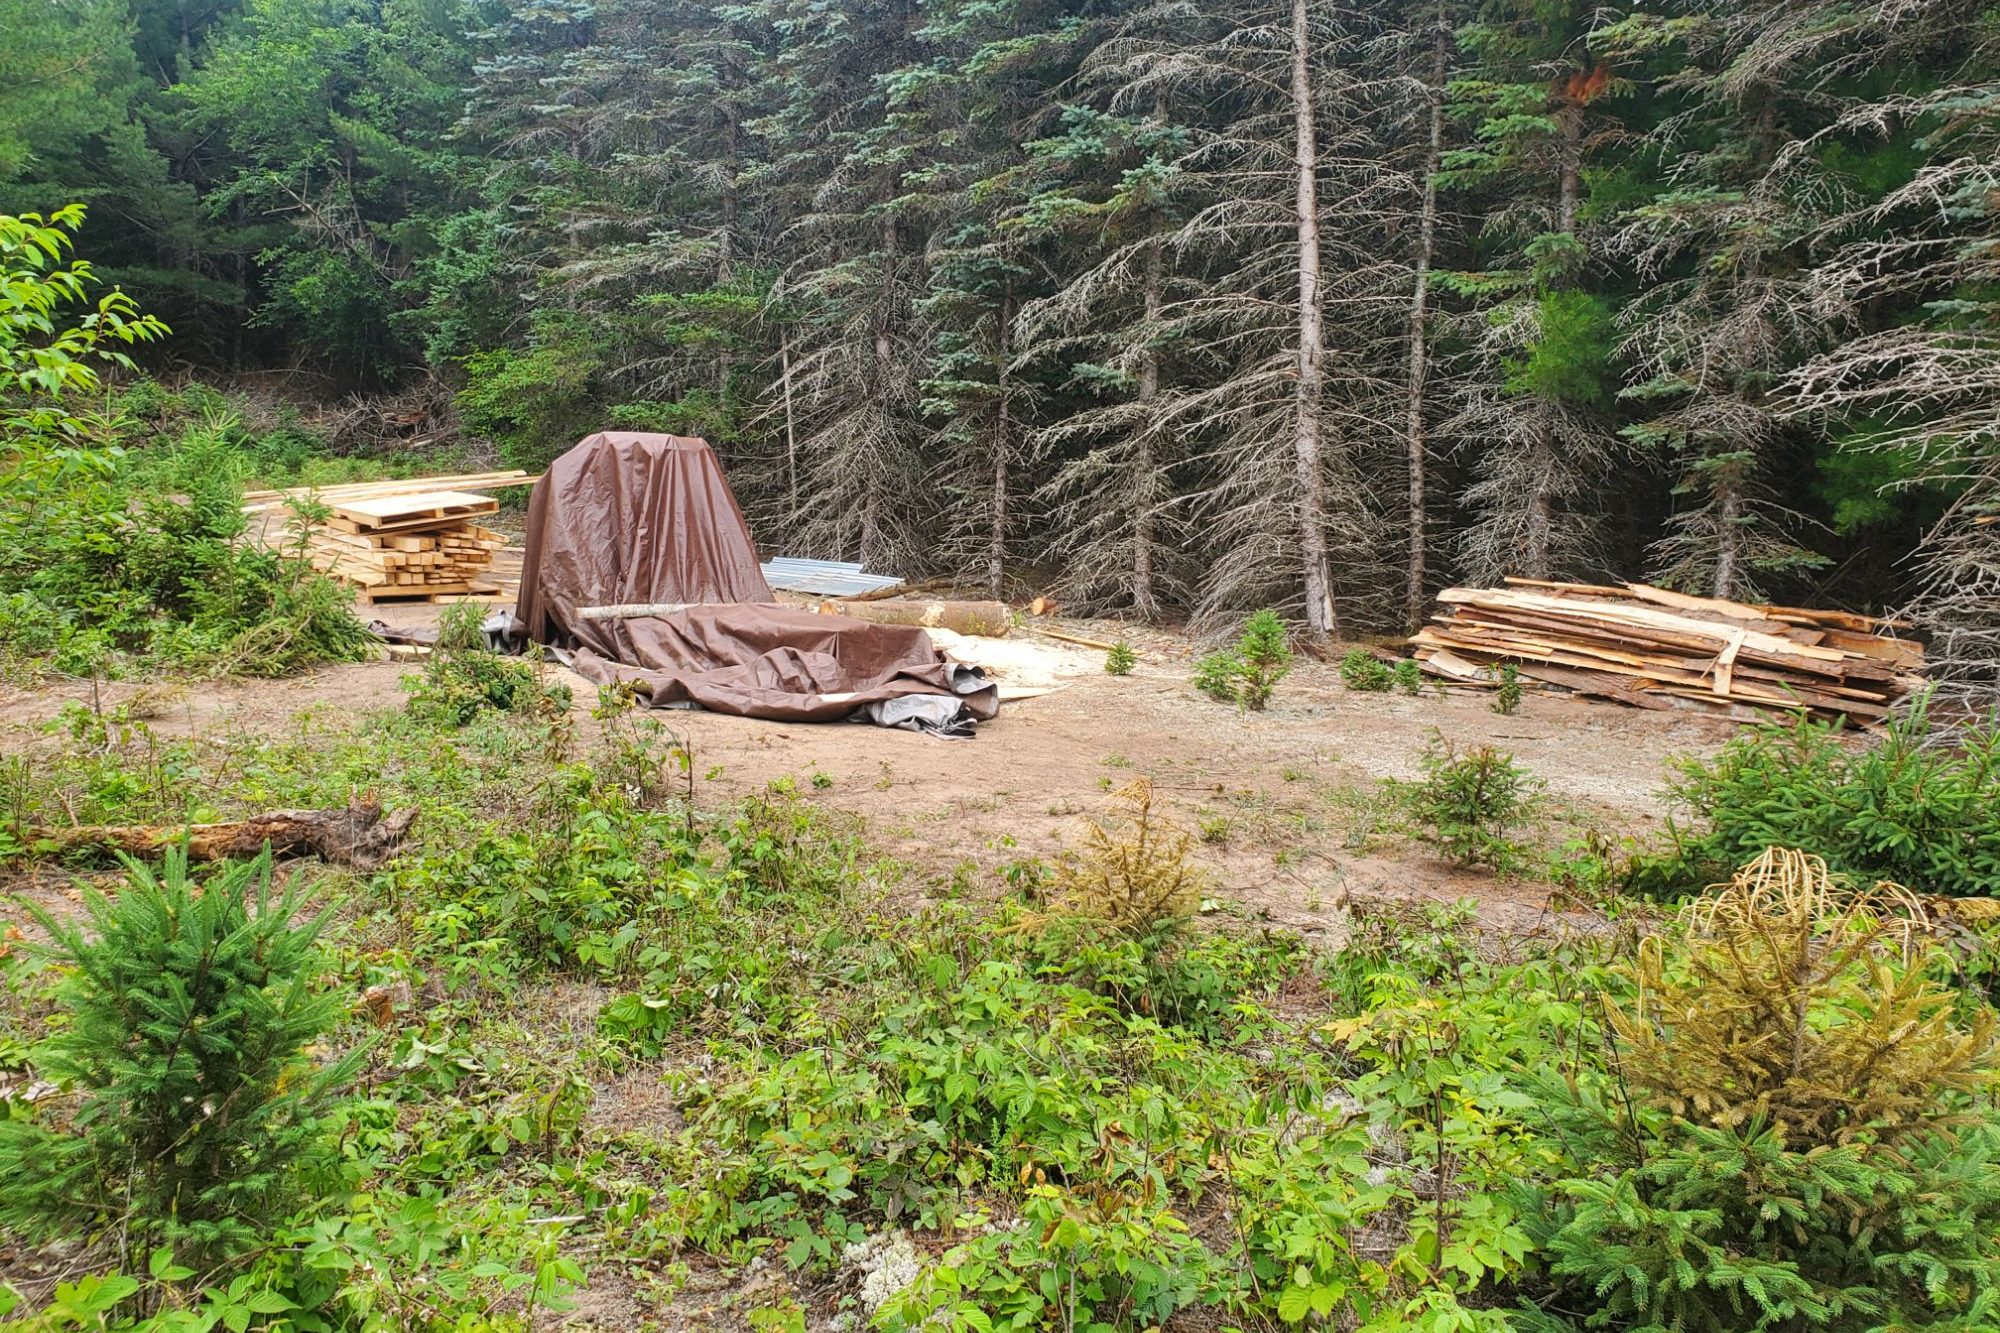
The story of the sawmill shed will have to wait for another post. Let me know what you think in the comment section below, and be sure to subscribe to get notified when the sawmill shed post and others like it come out!

Leave a reply to Making Way For More Chestnuts – The Maple Mansion Cancel reply